


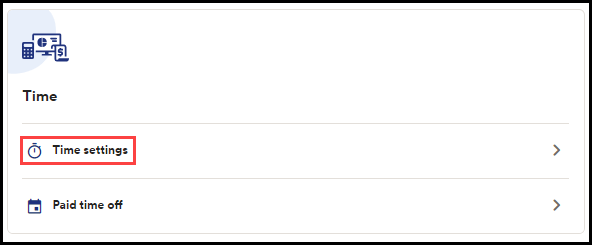
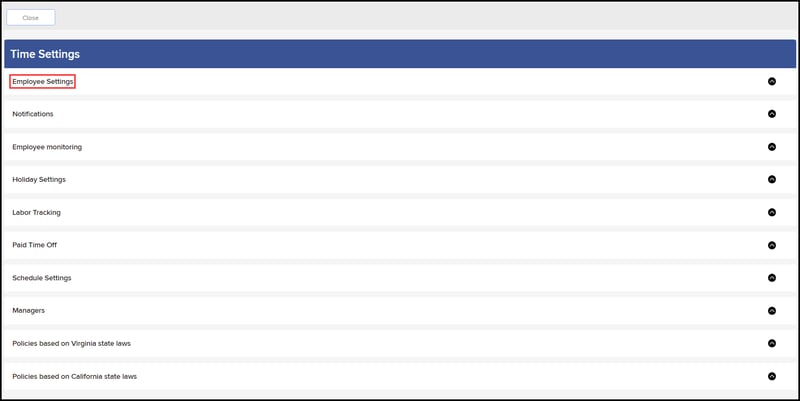
1. From RUN, navigate to the Settings Menu and choose Time Settings .

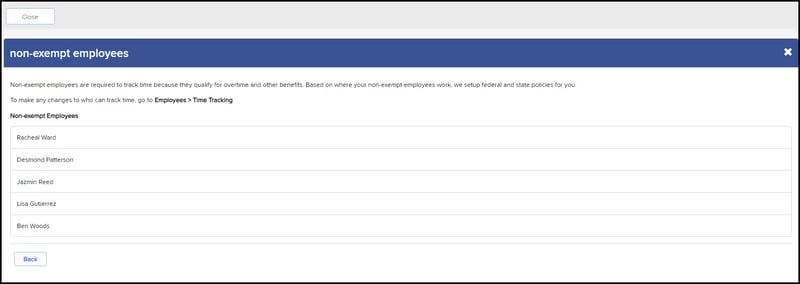
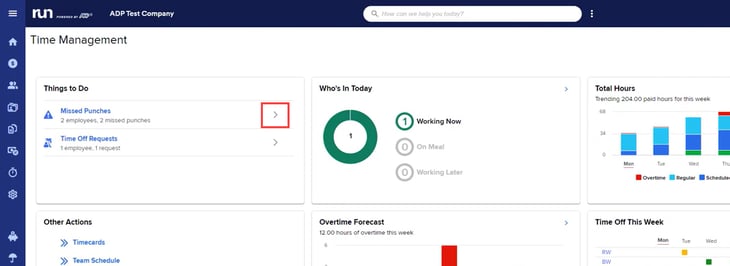
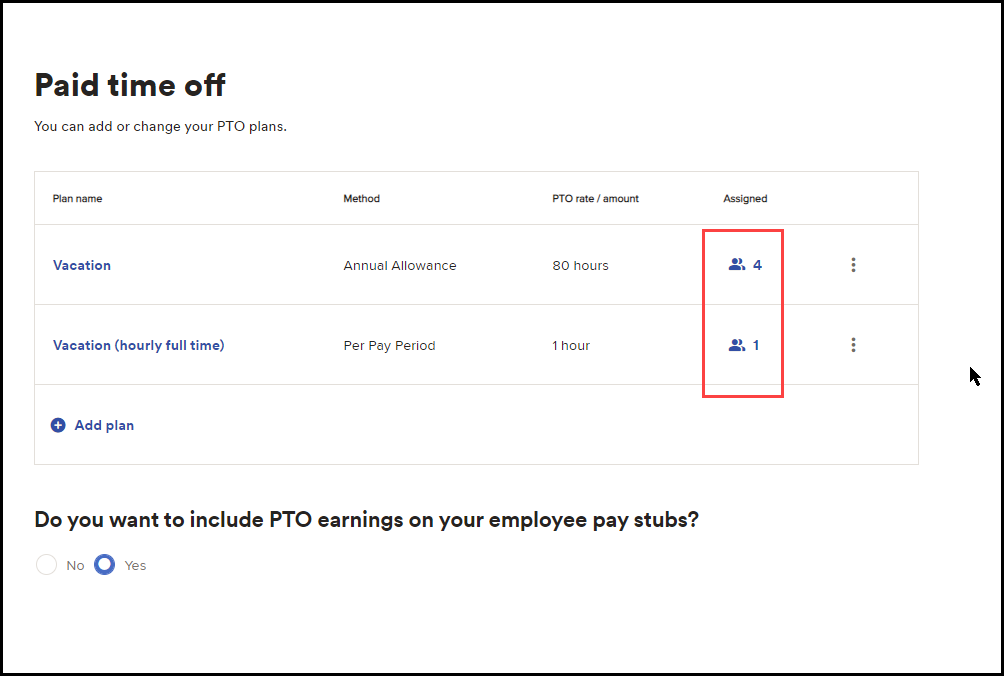
3. At the top, you will see how many employees are using timekeeping plus. By clicking on Learn More, you can see the list of employees that have time tracking enabled.
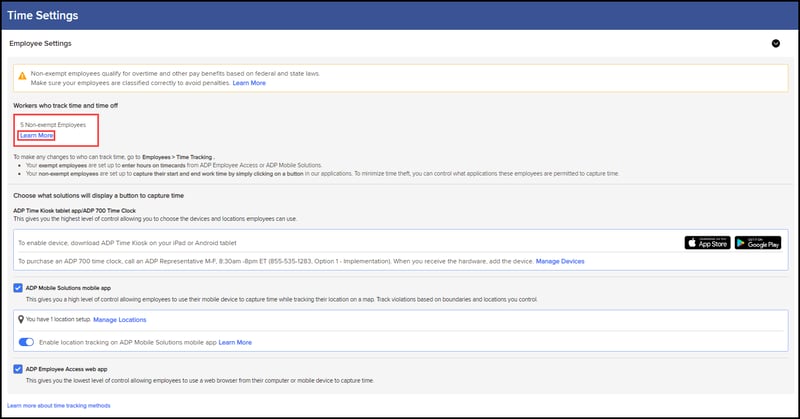
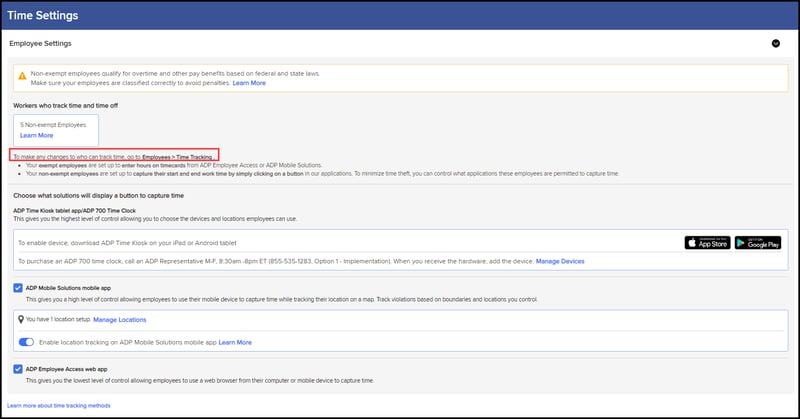
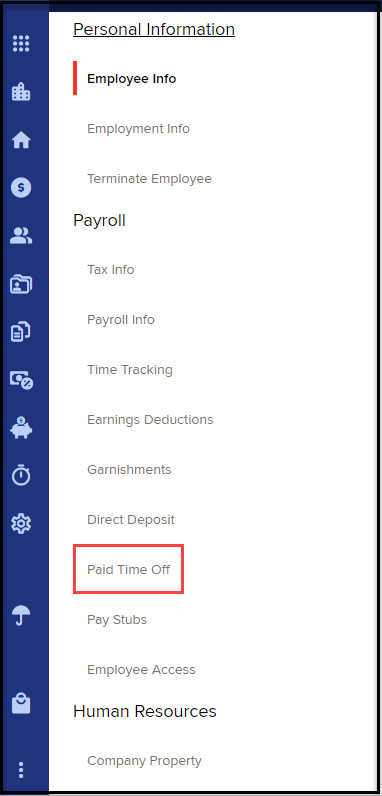
4. If you need to disable or enable time tracking for an employee, you will find that in their Employee Profile.
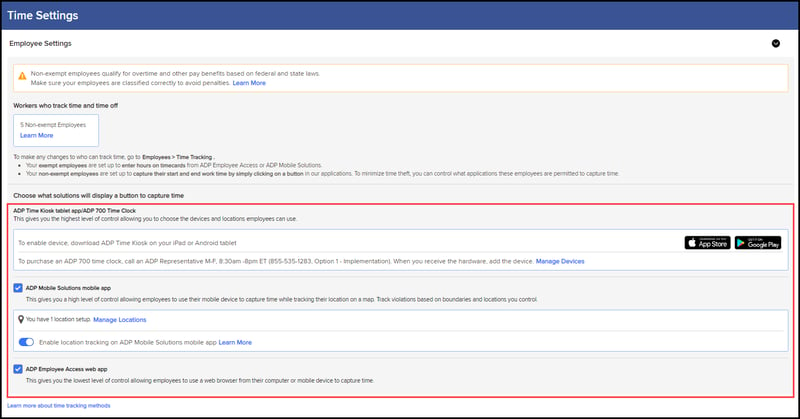
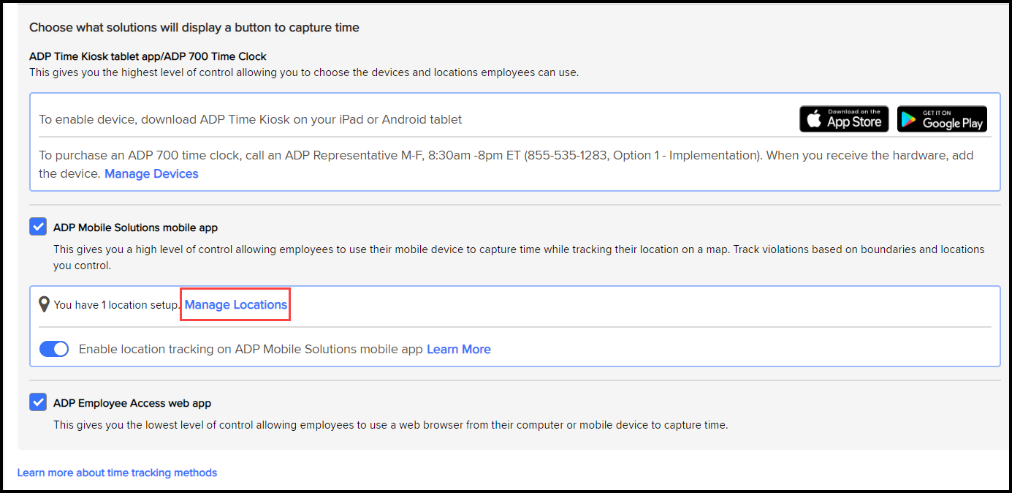
5. Further down you will find the option to enable or disable time tracking for specific devices such as ADP Time Kiosk, ADP 700 Time Clock, ADP Mobile Solutions App, and ADP Employee Access Web App.
1. From RUN, navigate to the Settings Menu and choose Time Settings .


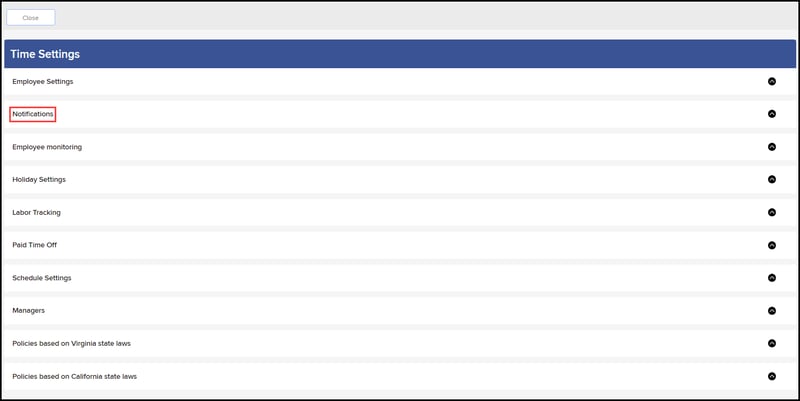
2. From here, click on the Notifications tab. This will open up the email notifications page, with a number of different options.
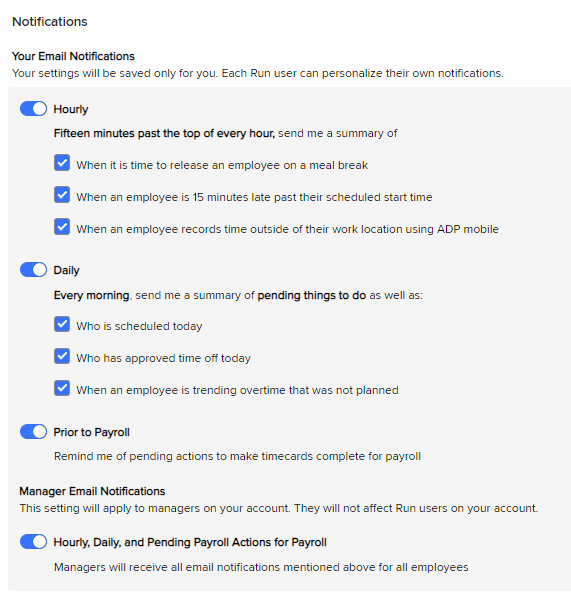
3. At the top, you have an Hourly notification, this will email you ever hour if any of these selections are triggered. Next, we have Daily Notifications, these are a once-a-day notification reminder. The third notification type is a Prior to Payroll reminder, if you have an upcoming payroll and missing punches you will get an email reminding you to make those corrections before payroll is due. Lastly, if you have a manager that you wish to receive a copy of any of these email notifications you can turn on Manager Email Notifications at the bottom.
Note: they will receive notifications for all employees even if they are not their direct manager.
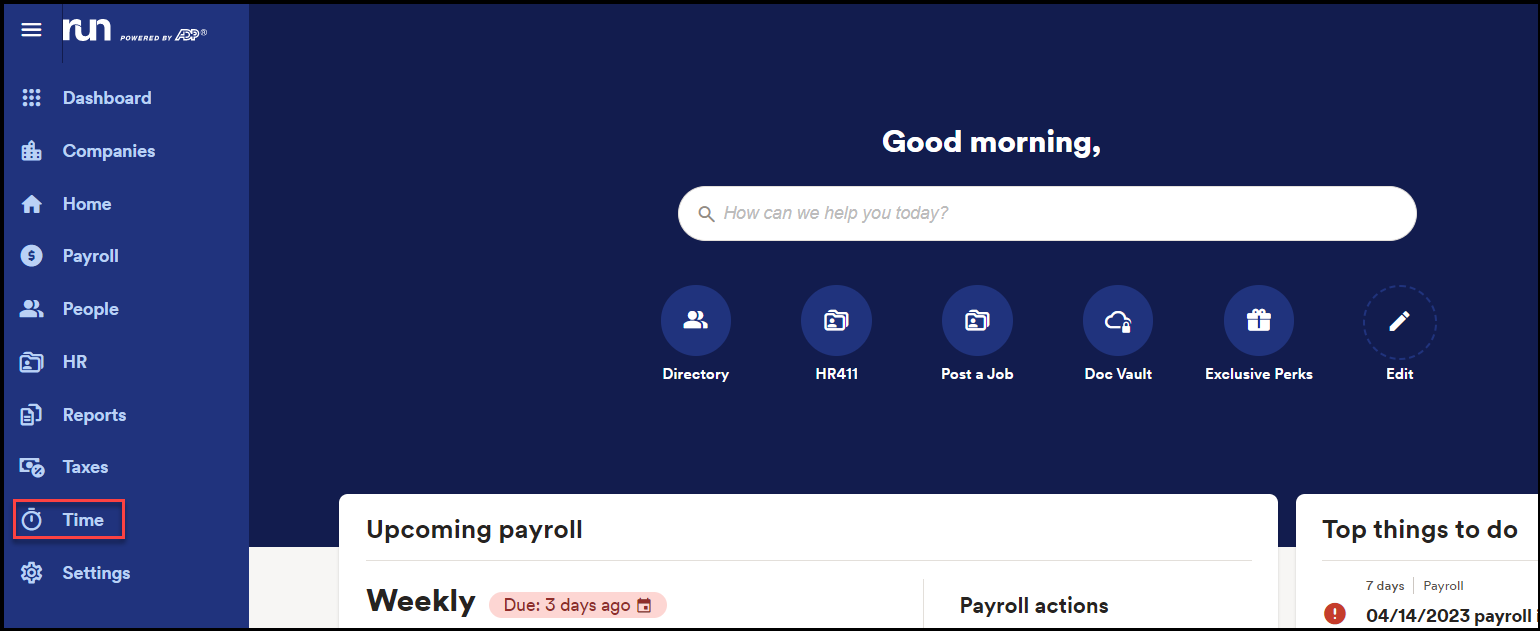
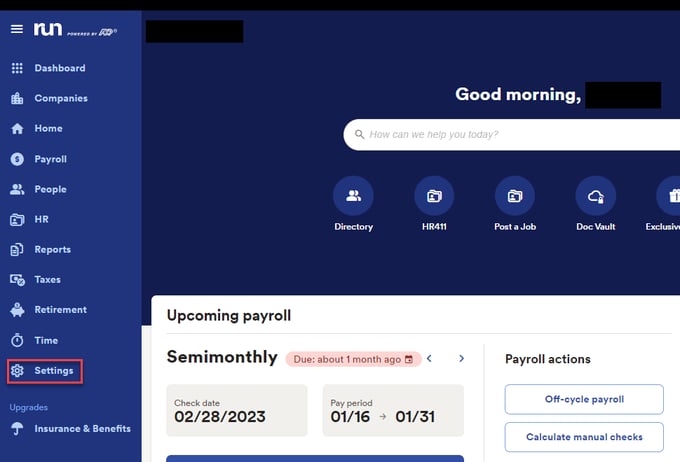
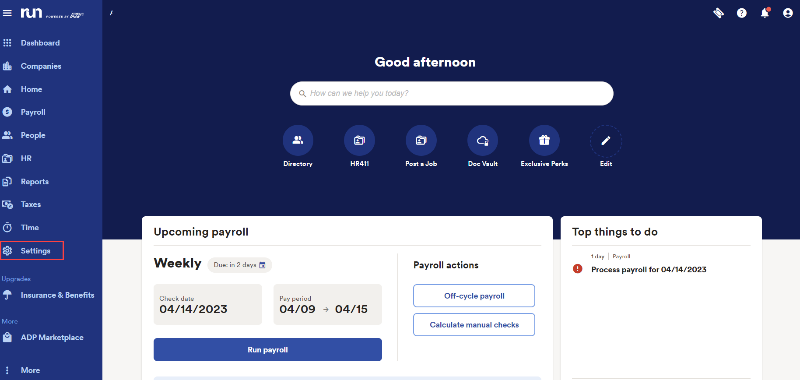
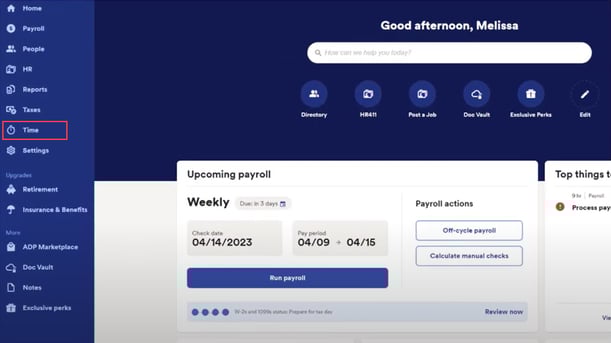
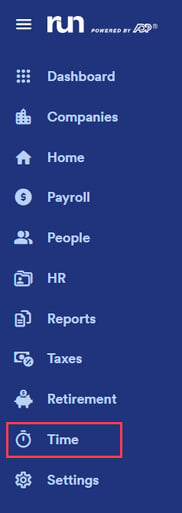
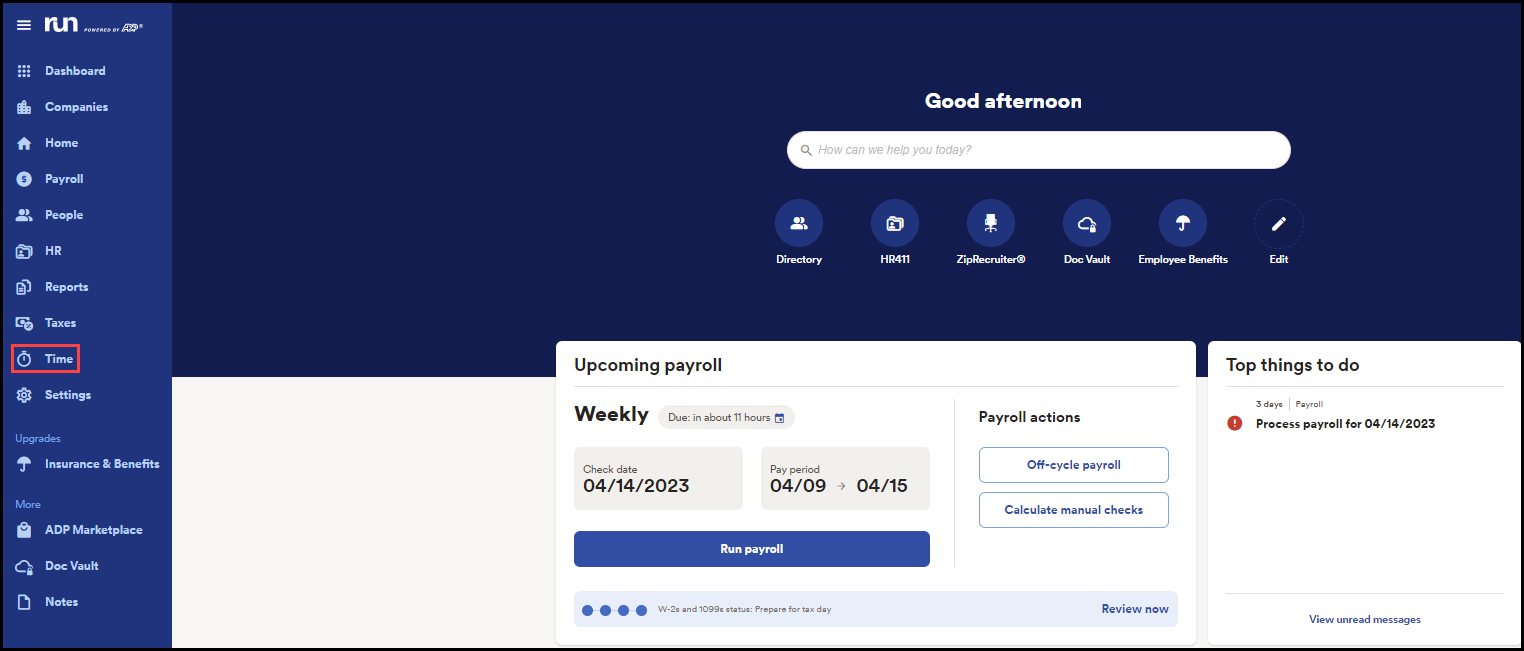
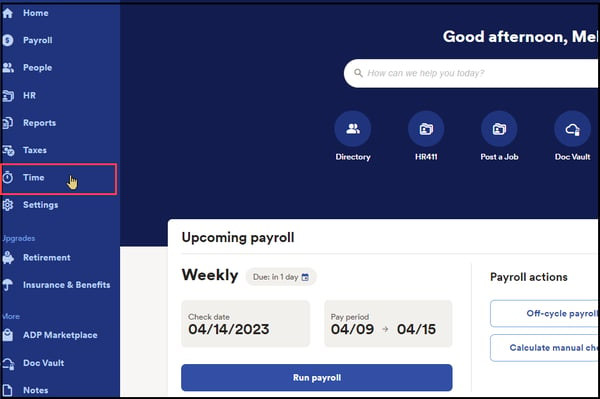
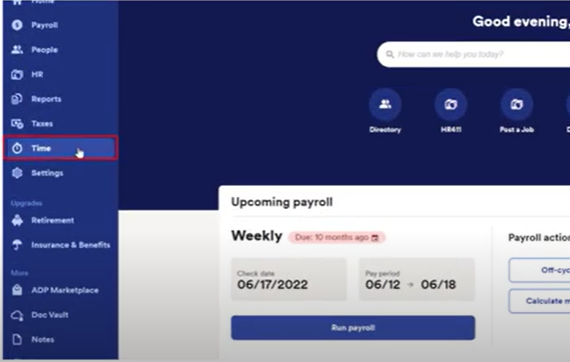
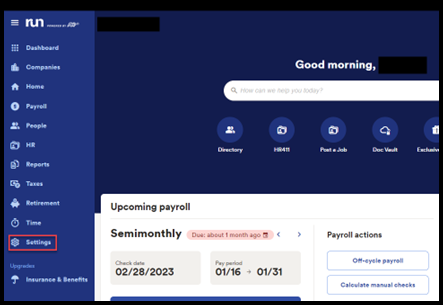
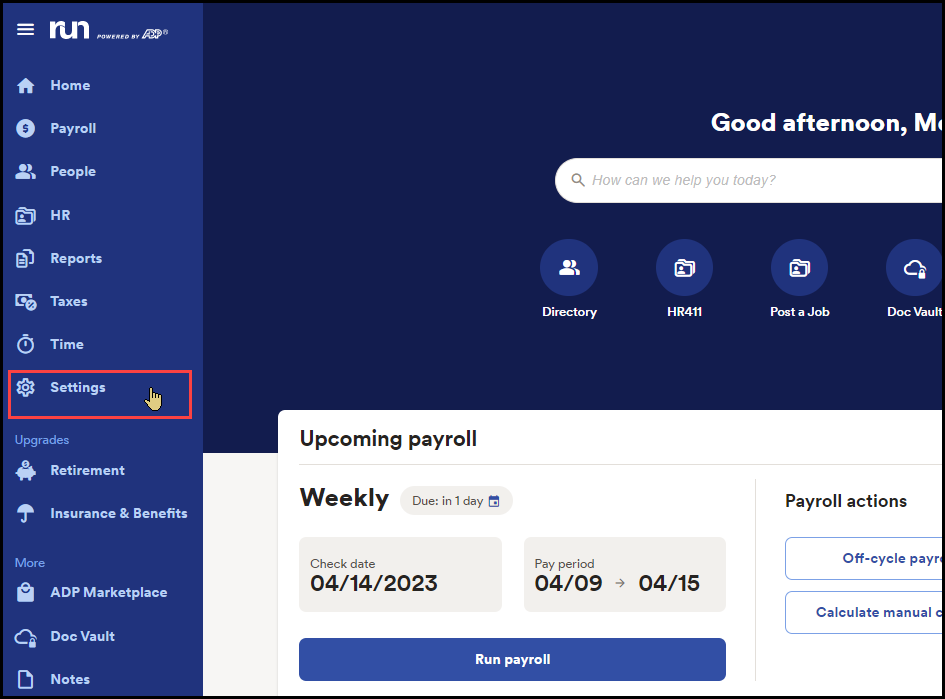
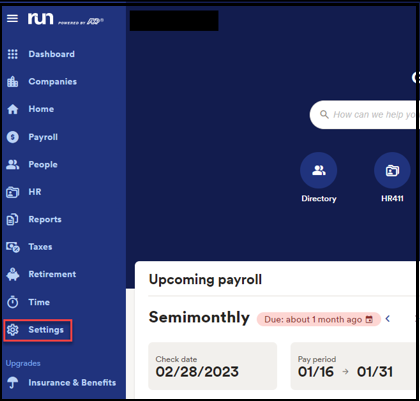
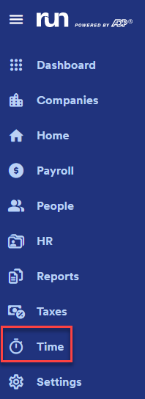
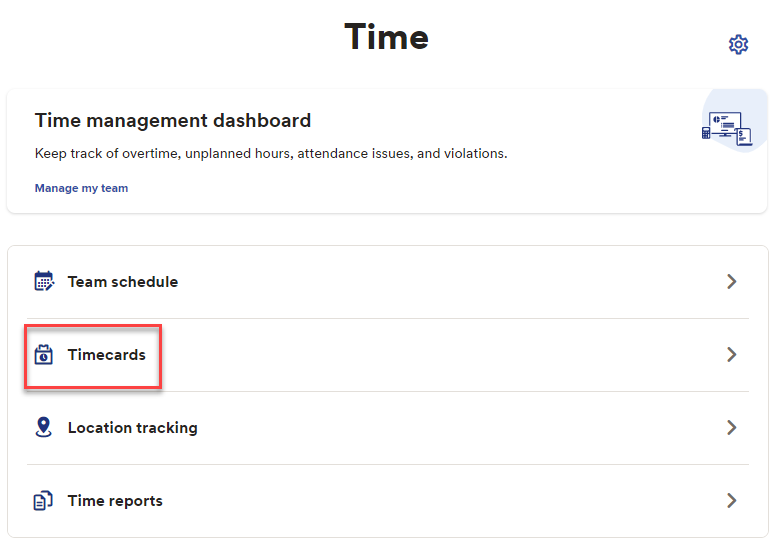
1. To get to the Time Settings Log in to RUN and click the Settings button on the left-hand side.

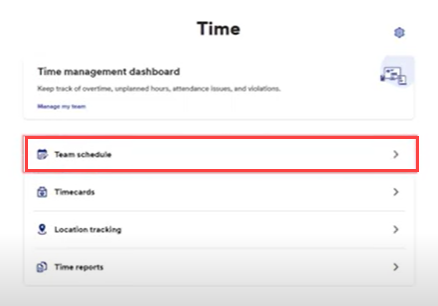
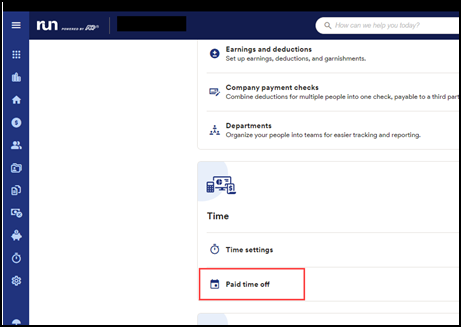
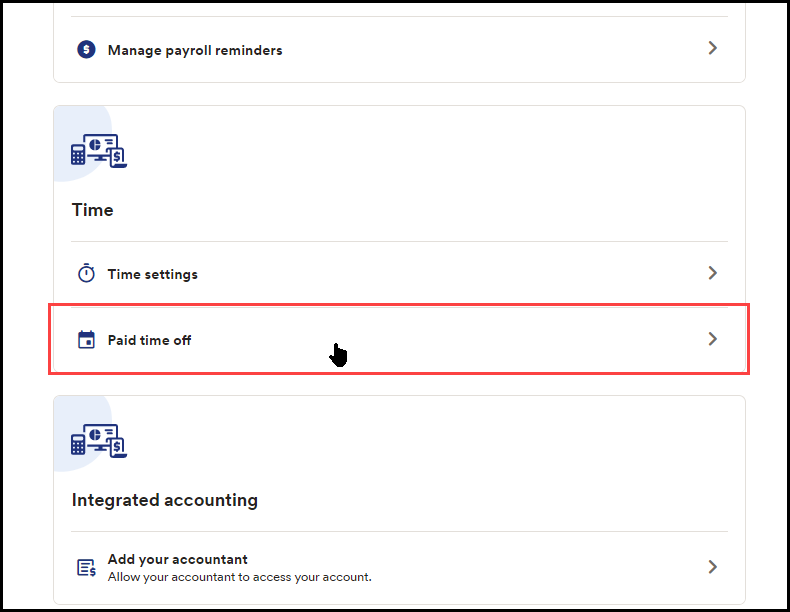
2. Scroll down and click on Time Settings

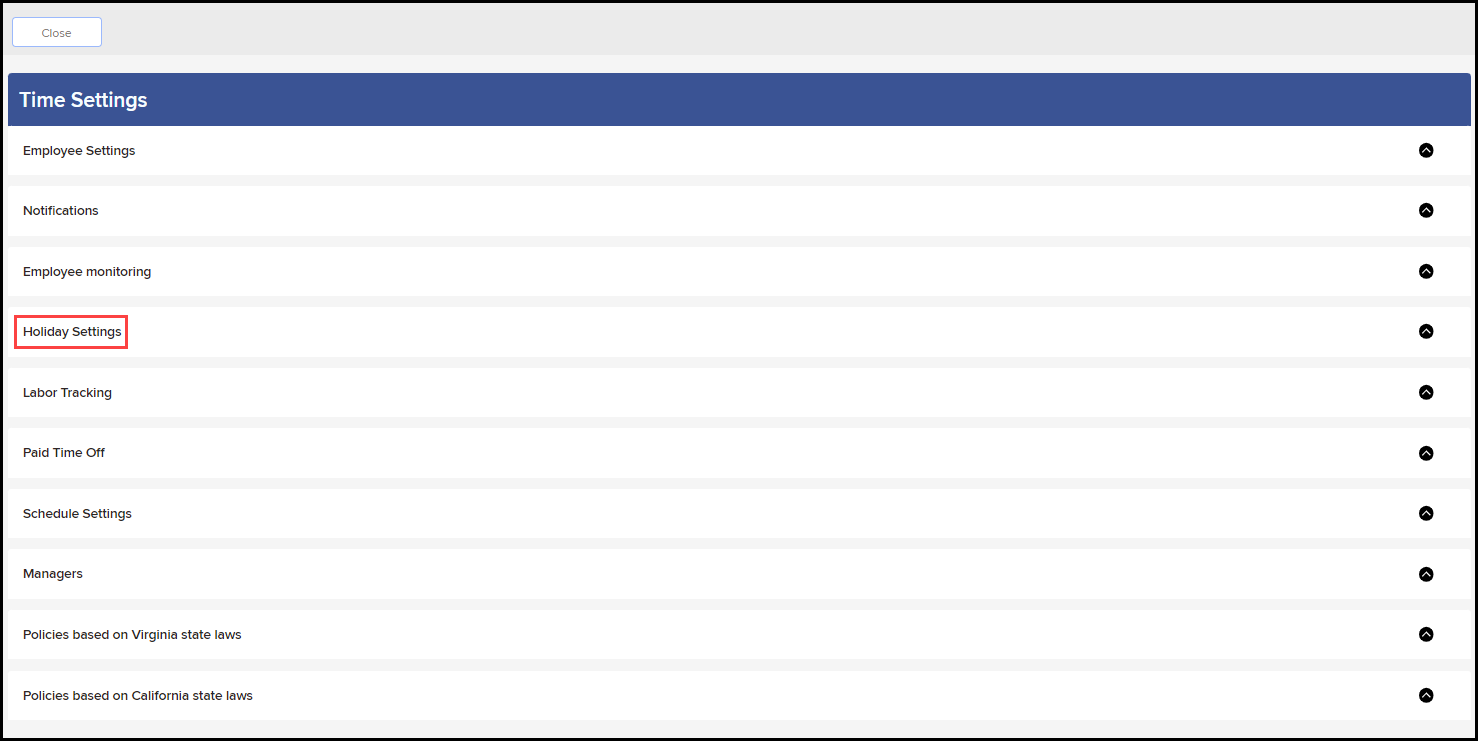
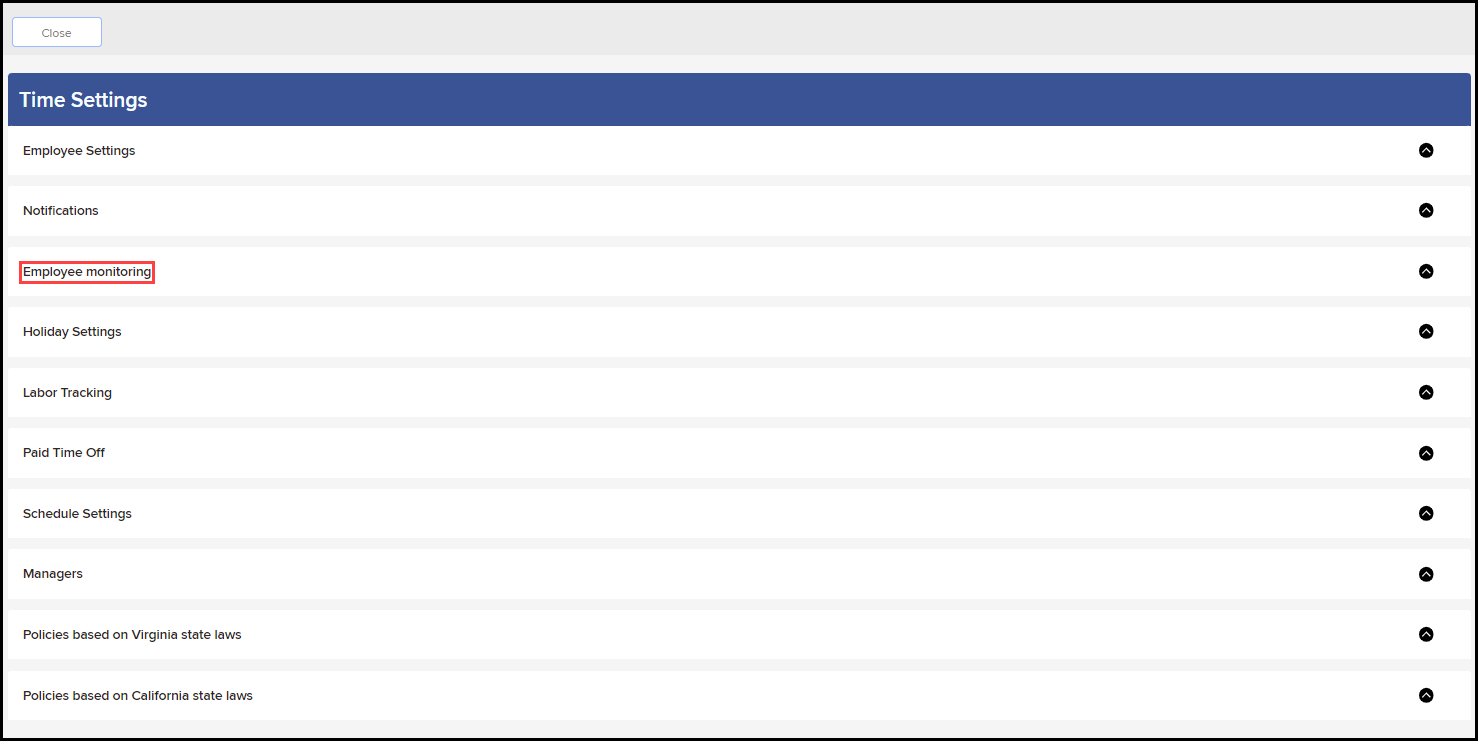
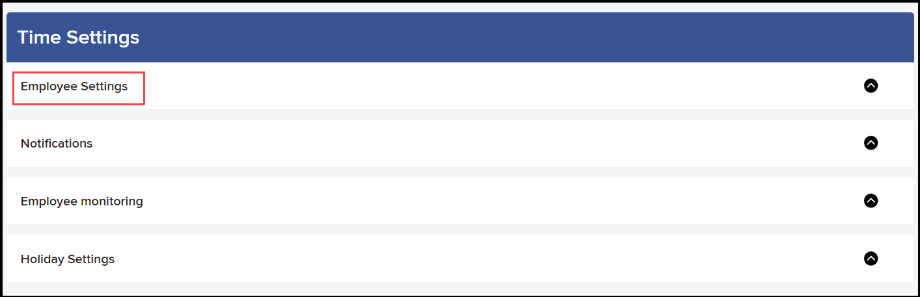
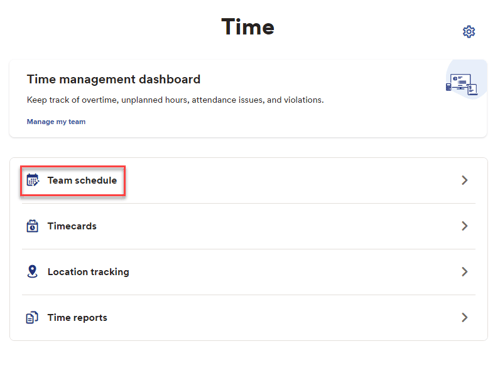
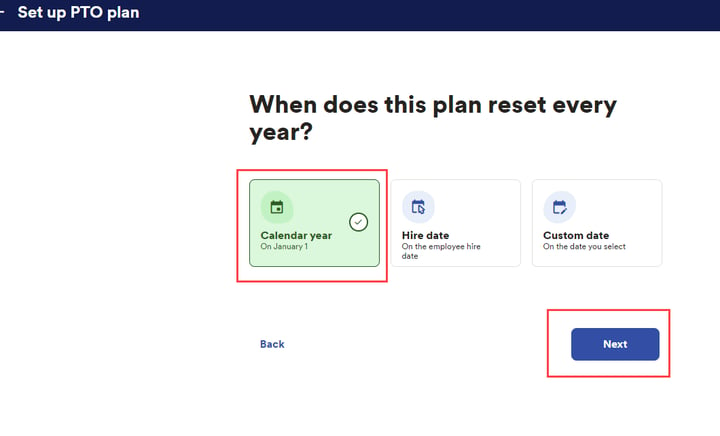
3. This will open the Time Settings screen. From here click on Holiday Settings.
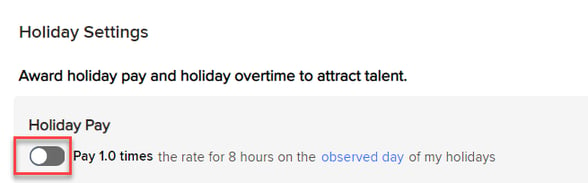
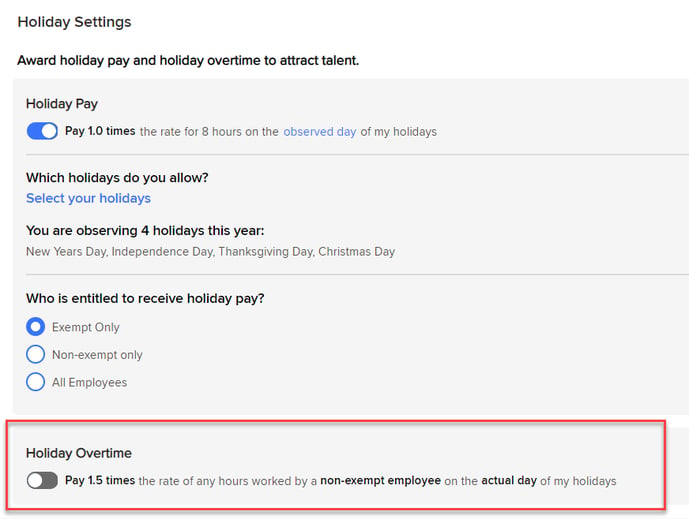
4. Clicking on the Holiday Settings tab will open the holiday configuration screen. By default, Holidays are off. From here they can be toggled on.
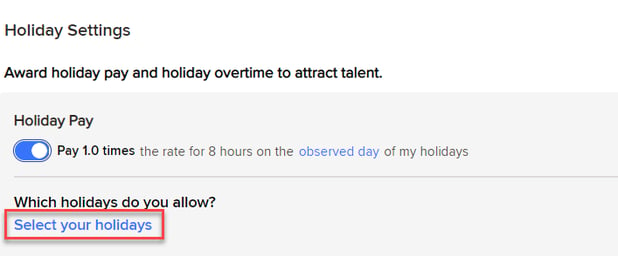
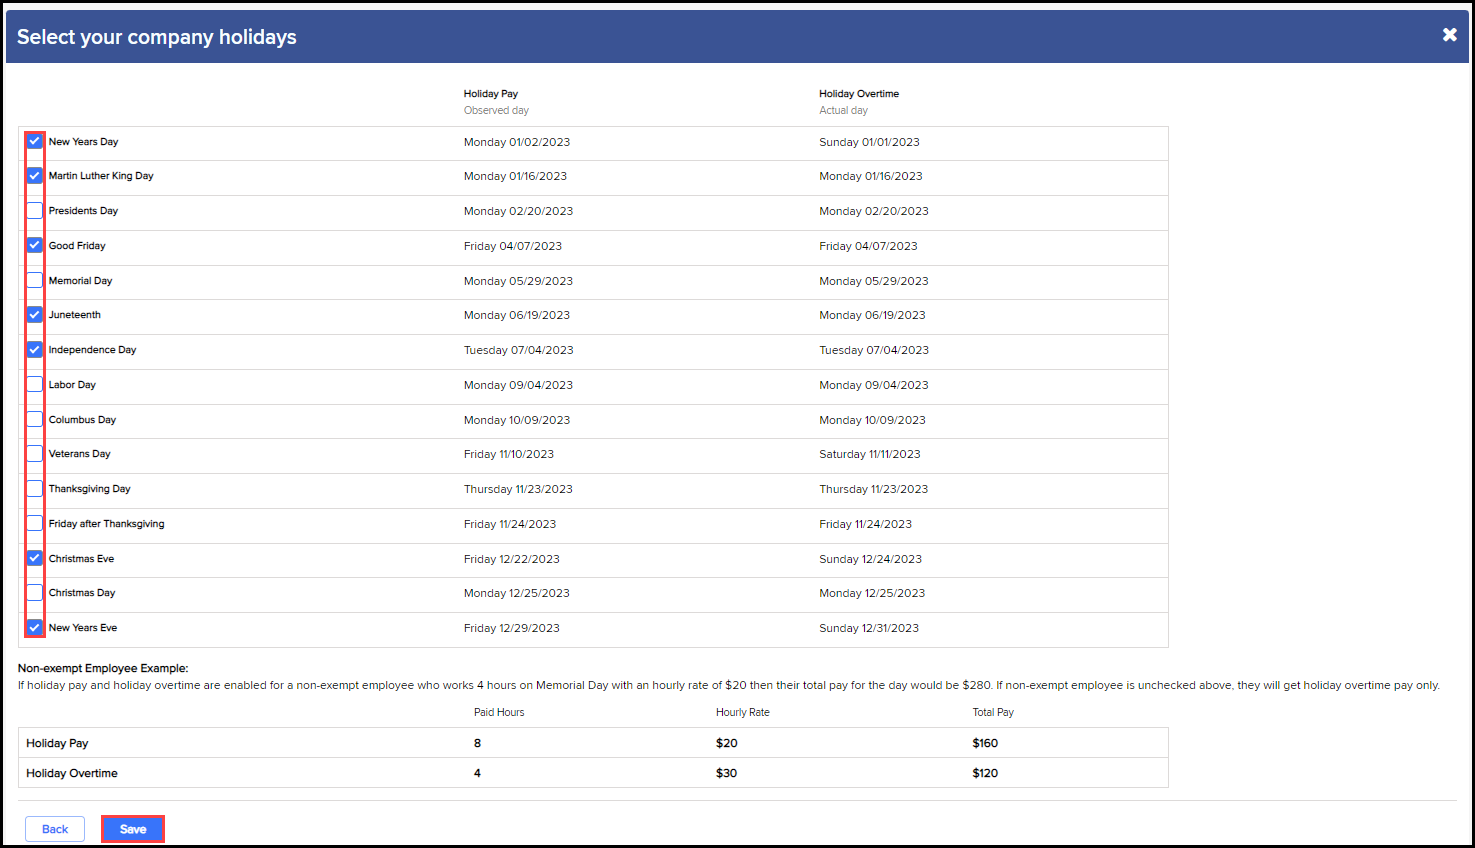
5. Before holidays are awarded, you will have to select which holidays your company observes. Click Select your holidays and a new page will load with preloaded holidays to choose from. Simply select the ones you wish to observe by checking the boxes on the left-hand side, then click save.
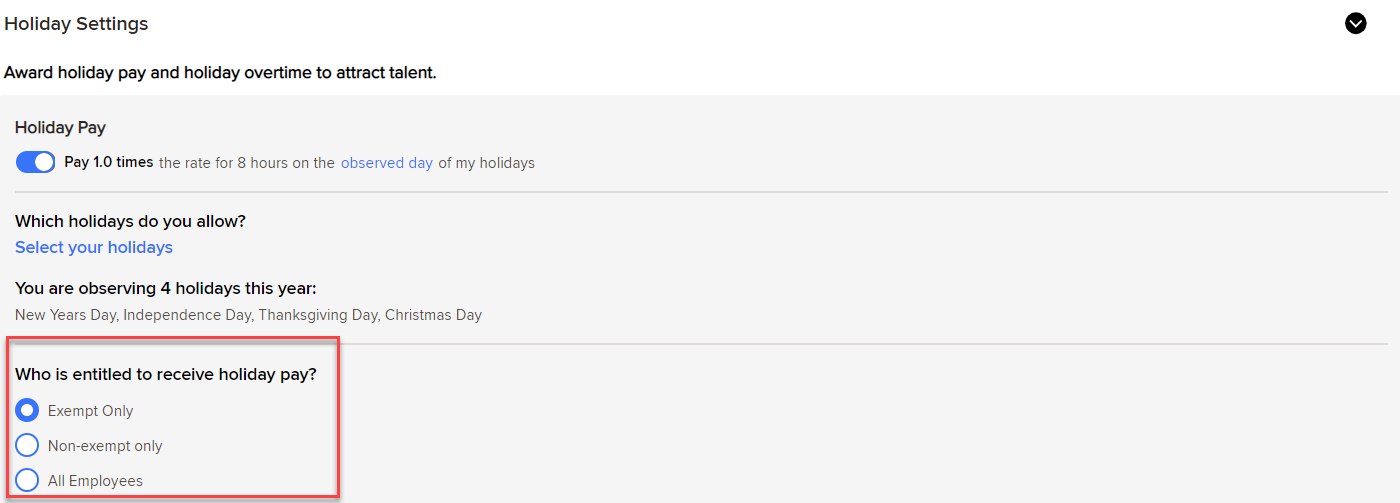
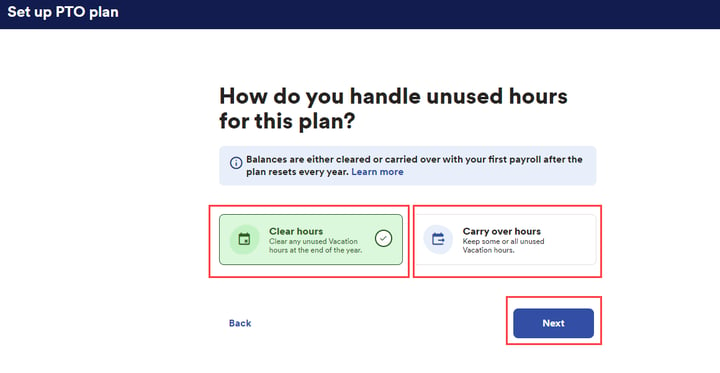
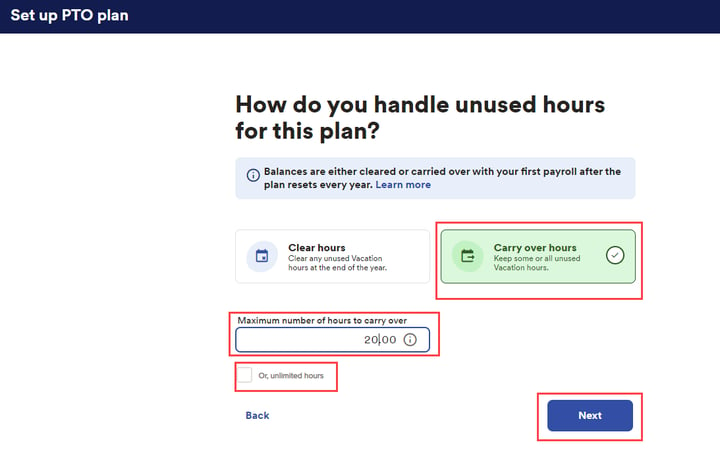
6. Once you’ve chosen your holidays, additional menu options will appear below. Usually, automatic Holidays are only awarded for exempt employees, also known as salary employees. However, you may choose to award non-exempt employees instead. Or select all employees to award to everybody.
7. Finally, at the bottom you can choose to award holiday overtime. Toggle this option on to award employees that work on the holiday with overtime pay.
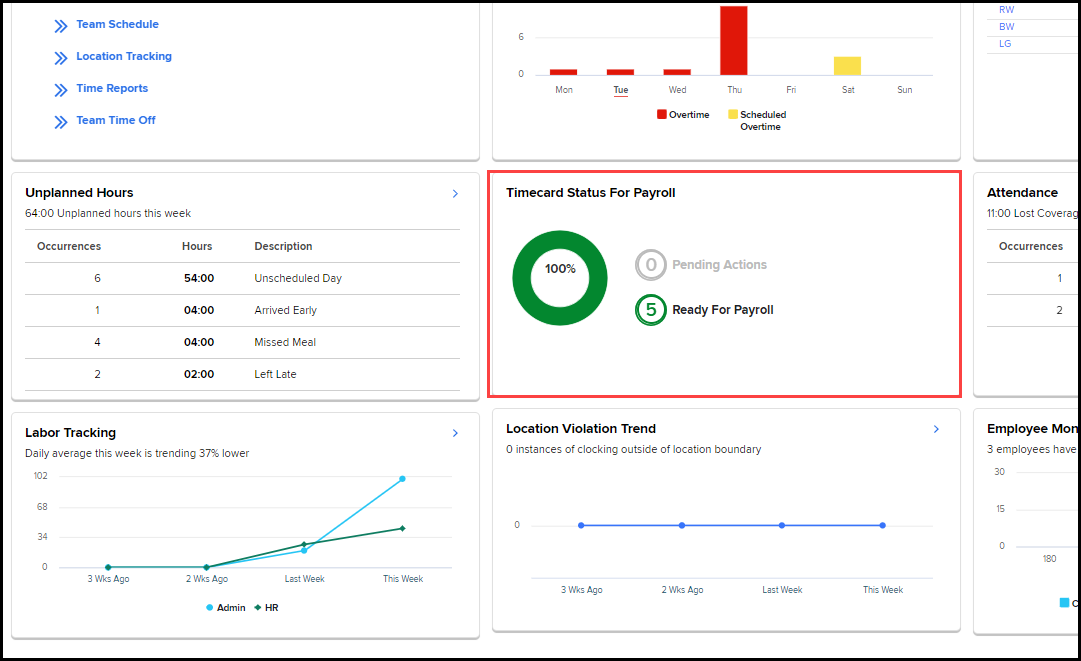
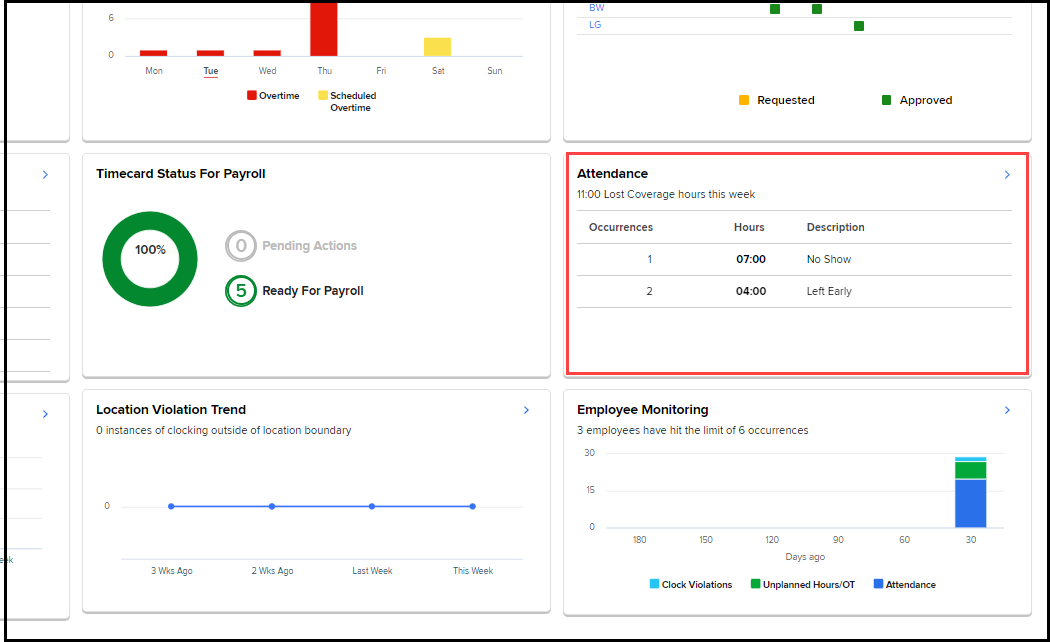
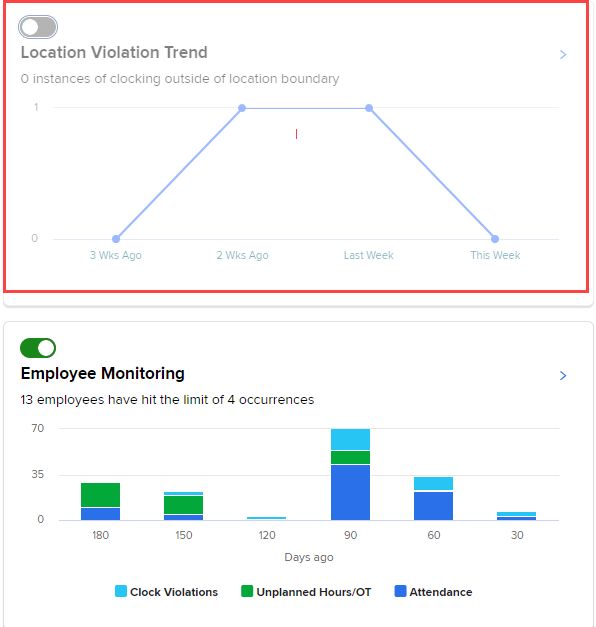
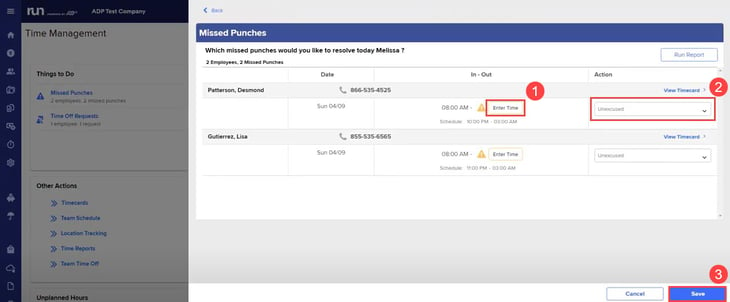
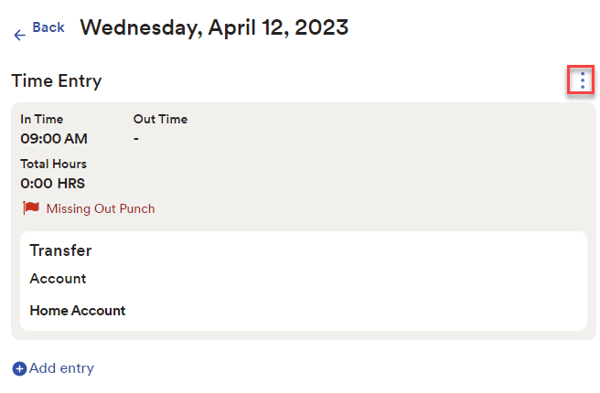
- If an employee misses a punch when they were scheduled to work
- If an employee using the mobile app clocks in or out too far away from their work location
- If an employee works unplanned hours outside their schedule
- If an employee works overtime without approval
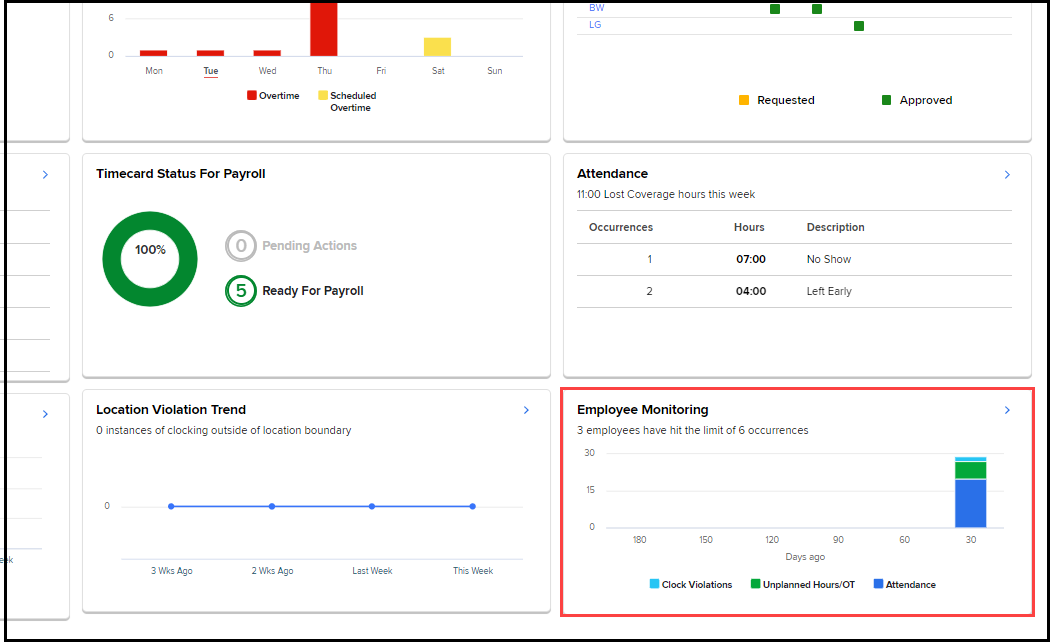
2. To adjust settings for this feature, login to RUN and navigate to the Settings Menu on the left.
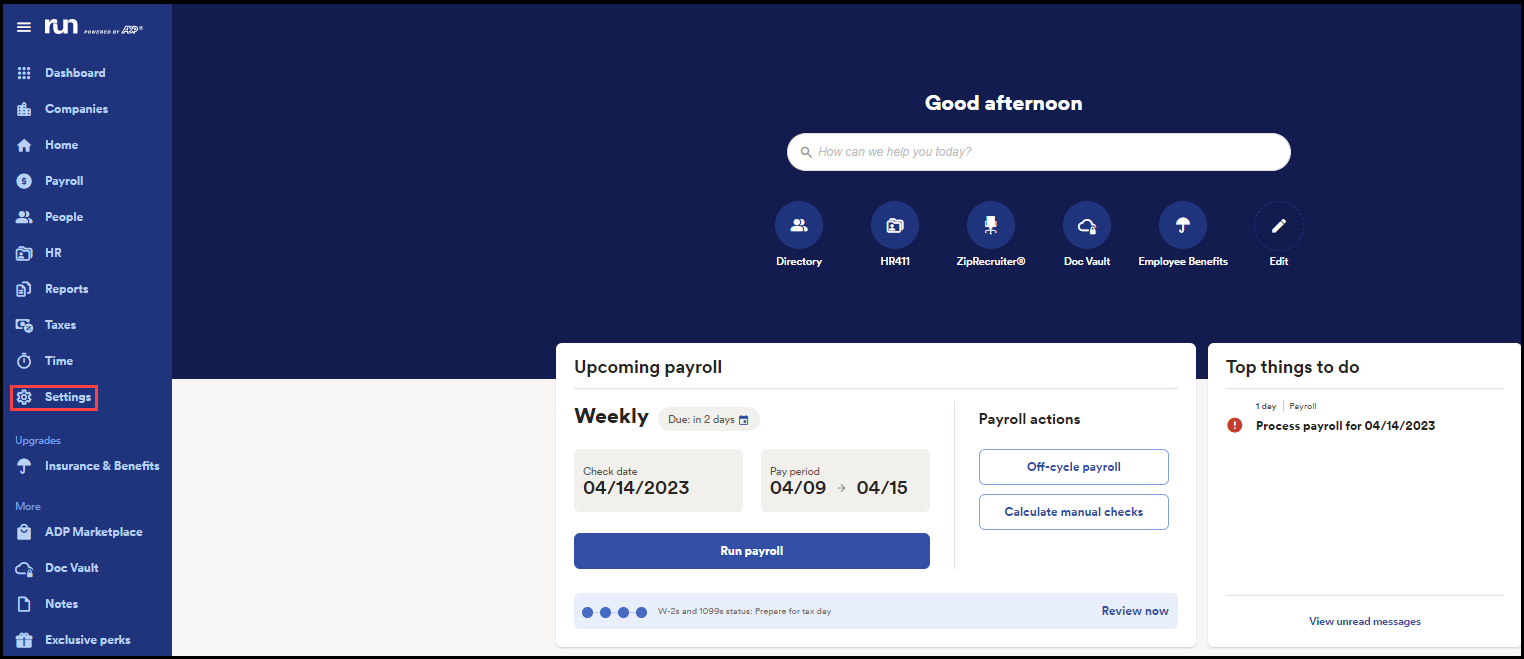
3. Scroll Down and Select Time Settings.

4. Next, Select the Employee Monitoring section.
5. In this section, changes can be made to the number of days in the rolling period and the number of occurrences needed in that rolling period before the notification gets sent.

6. Also in this section, the option for Auto Excused Occurrences can be enabled. This option will excuse occurrences automatically if the punches are within a certain number of minutes of the employee’s scheduled time. The number of minutes can also be changed here.

1. To get to the Time Settings. Log in to RUN and click the settings button on the left-hand side.This will open the Settings screen.
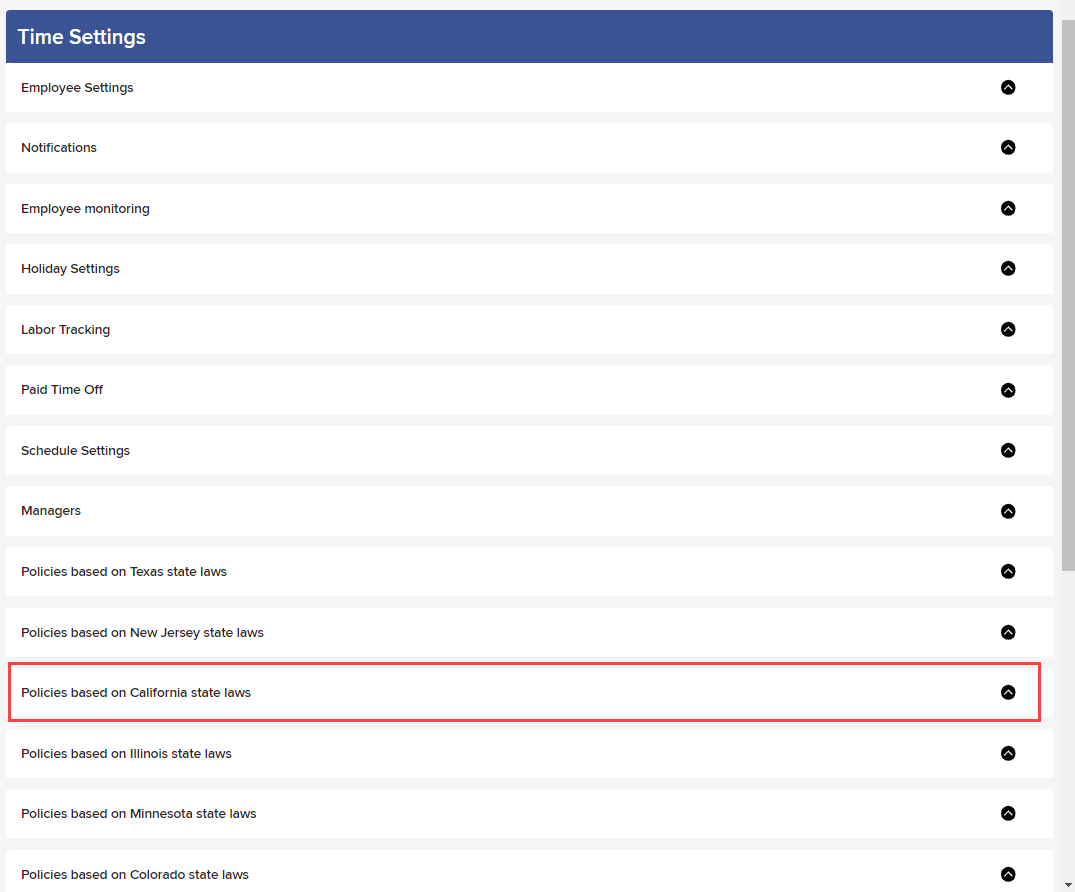
2. Scroll down and click on Time Settings. Here you’ll find many different settings options organized into sections. Scroll down to see the overtime policies under each state. Overtime with Timekeeping Plus is automatically assigned based on your employee’s work location. If you have employees working in different states, you’ll see a selection for each state.

3. Let’s open the selection for California to look.
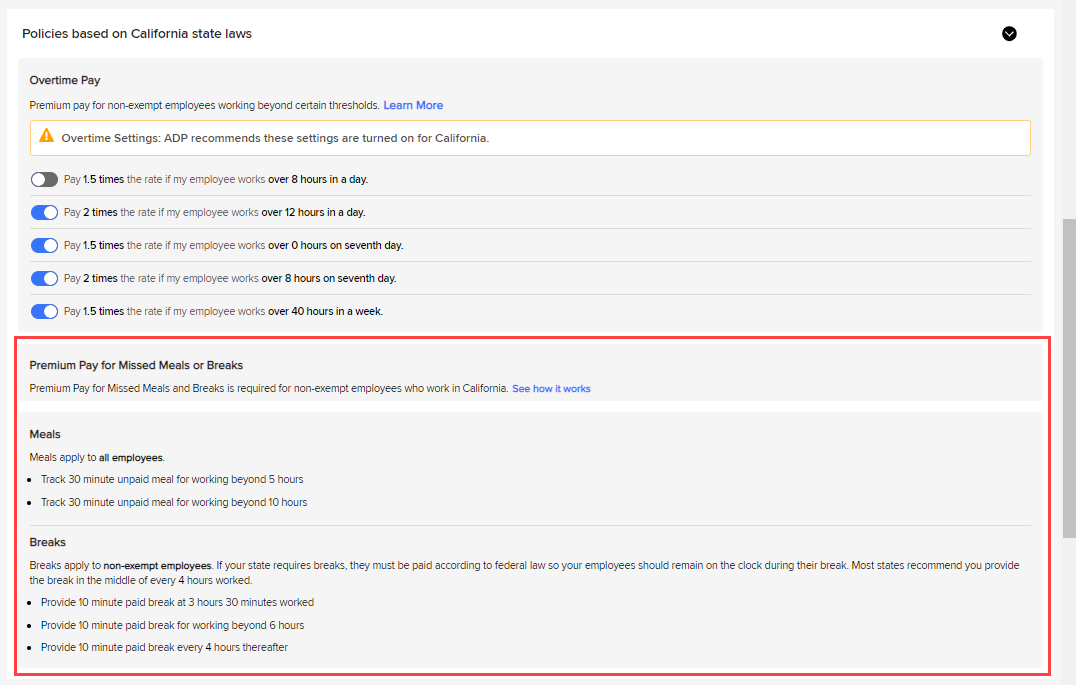
4. If your business has an exemption for certain overtime policies, you can turn off an individual policy by toggling the buttons here. As you can see this prompts a warning, it will be understood that you are knowingly changing your overtime calculations against ADPs recommendations.

5. If your state has meal or break policies, they will appear below.
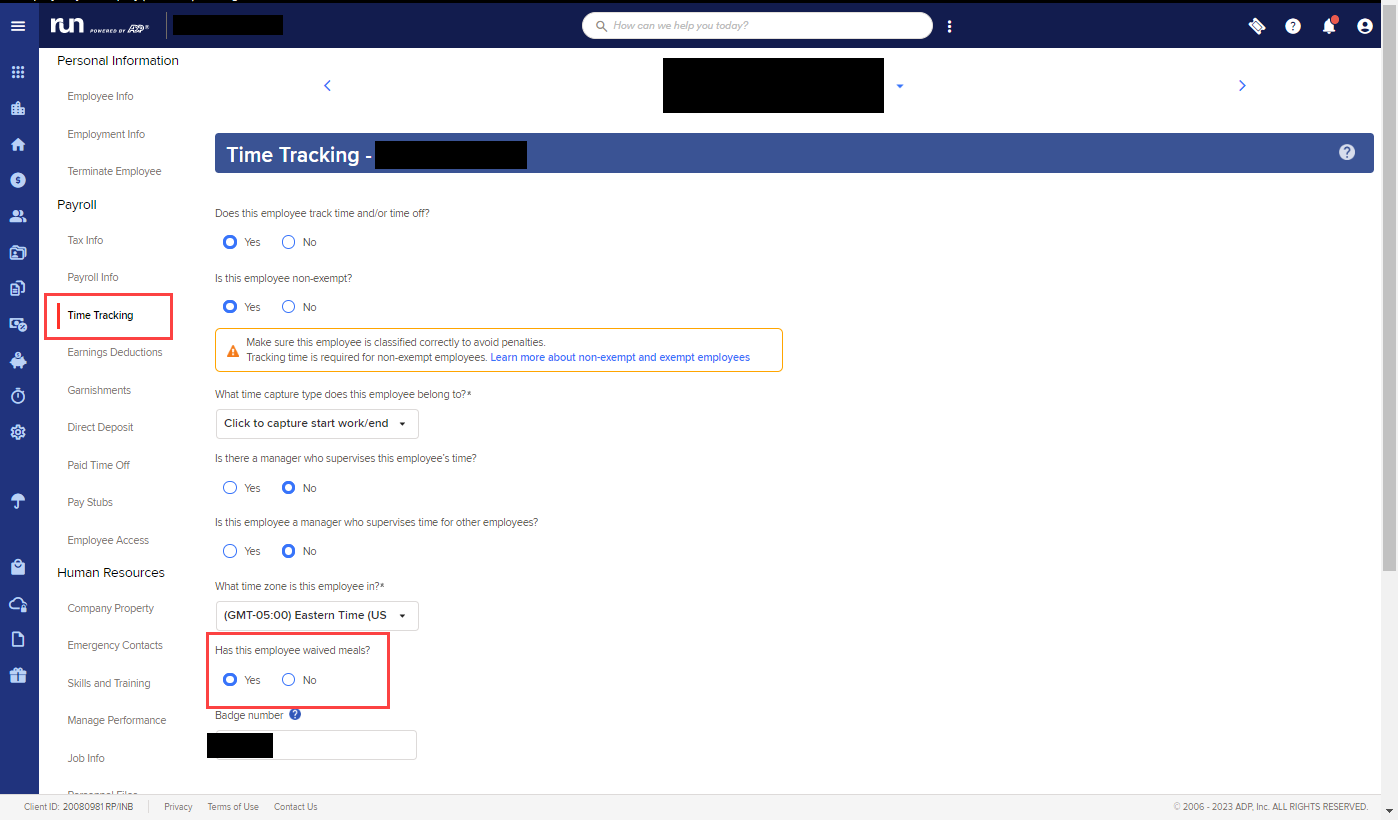
6. If an employee has signed a meal break waiver, you can record this in the employee’s profile, under time tracking:
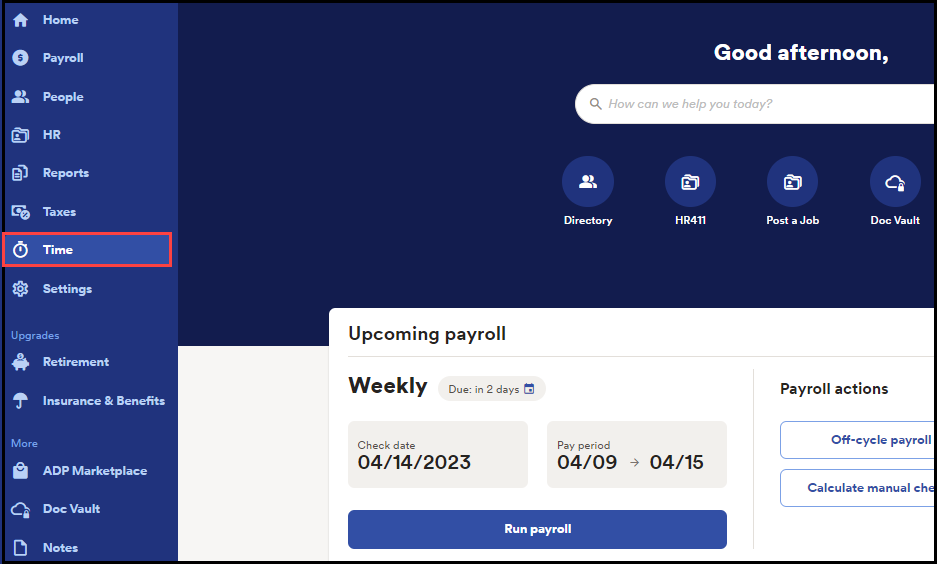
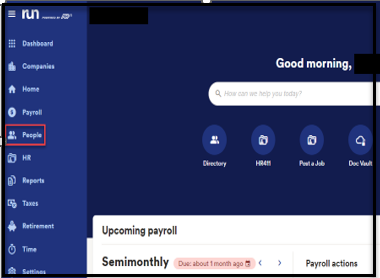
1. From RUN, navigate to settings on the left-hand side.
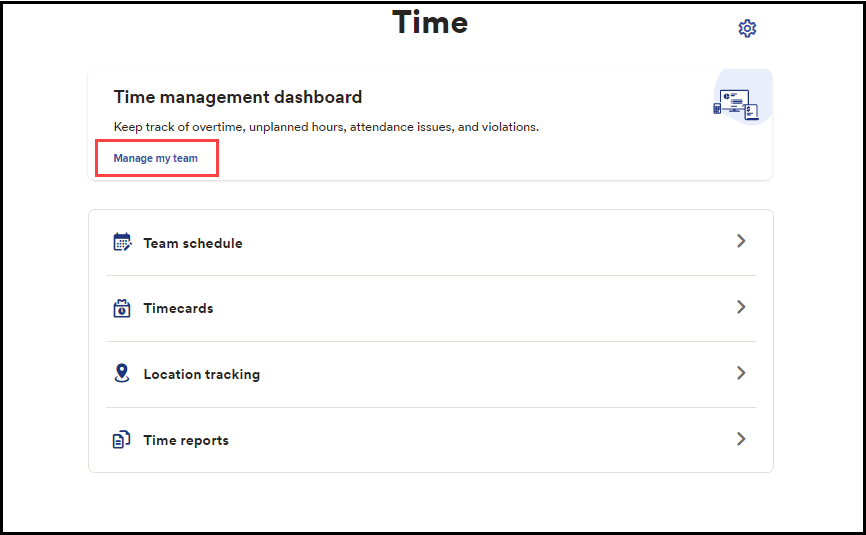
2. Scroll down and click on the time settings option. Once under time settings, select employee settings.

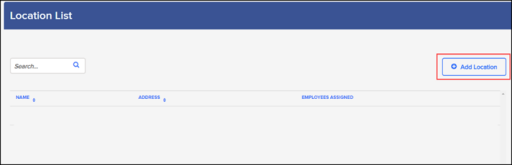
3. Scroll down on the employee settings until you see manage locations. To add a new location, click on add location on the right-hand side.
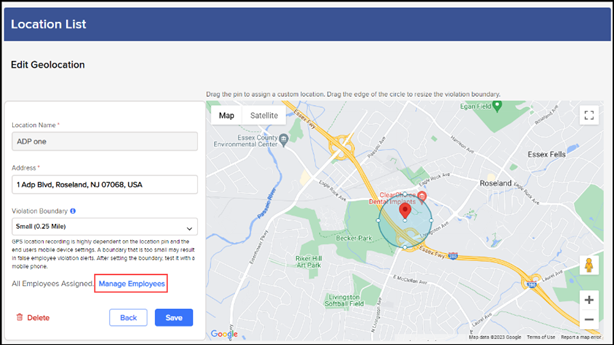
4. To start, enter the name for this location, then enter the address of the business. ADP will automatically locate the address and put in a boundary.
You can choose the boundary from the dropdown selections or if you want to choose a custom boundary, just grab the circle, and move it until you’re satisfied.

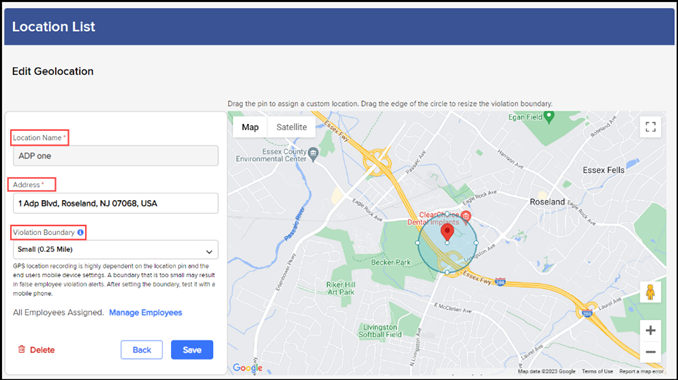
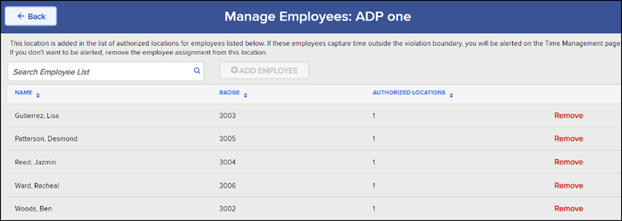
5. By default, all employees are added to the location. If you wish to remove employees from specific locations, click on manage employees.


 .
.