![Device Setup](https://sbshrs.adpinfo.com/hs-fs/hubfs/Device%20Setup.png?width=245&height=36&name=Device%20Setup.png)
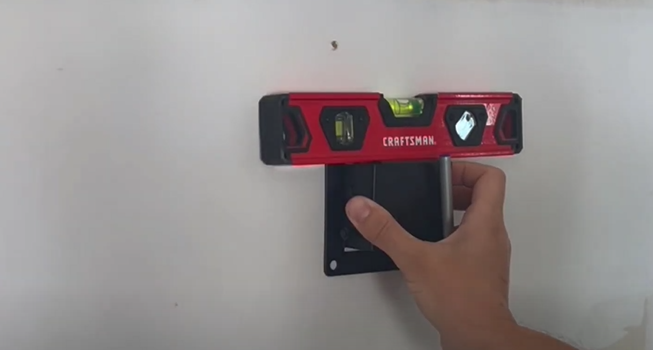
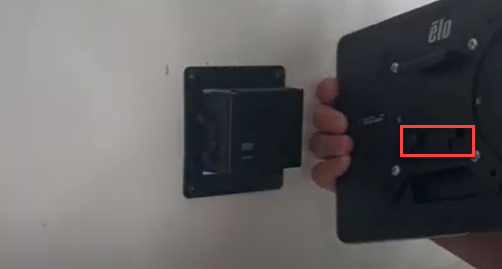
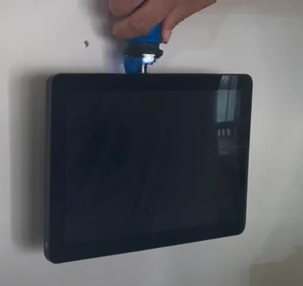
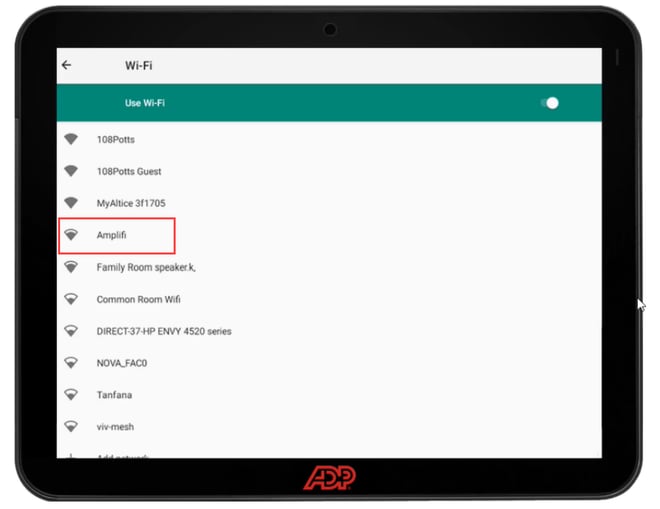
1. To start, plug in the device. Once it turns on, you’ll be asked to connect the ADP Kiosk to wifi.
![Graphical user interface, application
Description automatically generated](https://sbshrs.adpinfo.com/hs-fs/hubfs/undefined-Apr-21-2023-12-57-36-0566-AM.png?width=660&height=509&name=undefined-Apr-21-2023-12-57-36-0566-AM.png)
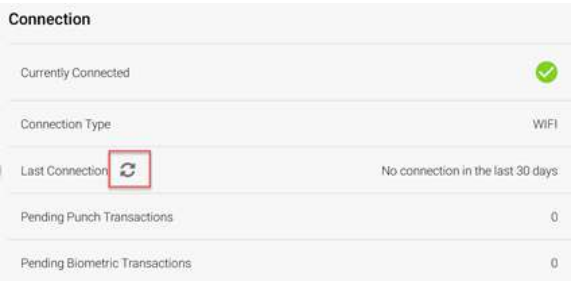
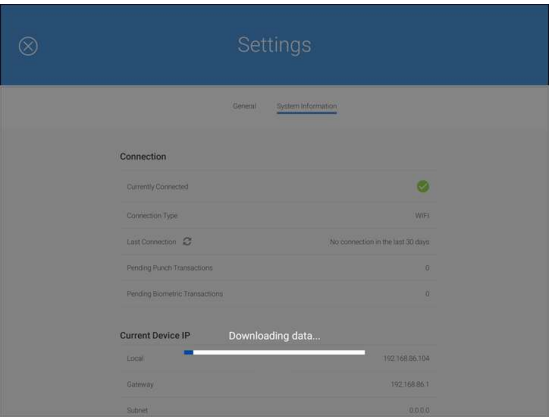
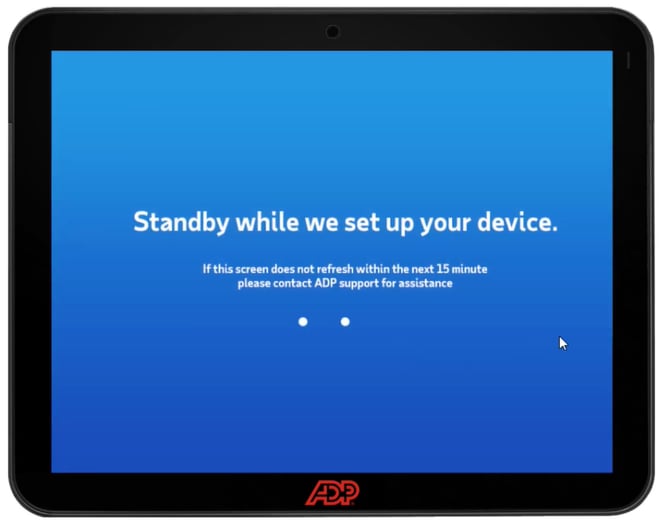
2. Once the ADP Kiosk has an internet connection, it will automatically connect to ADP servers. This will update and download the latest kiosk software version.
![](https://sbshrs.adpinfo.com/hs-fs/hubfs/undefined-Apr-21-2023-12-57-42-1124-AM.png?width=660&height=526&name=undefined-Apr-21-2023-12-57-42-1124-AM.png)
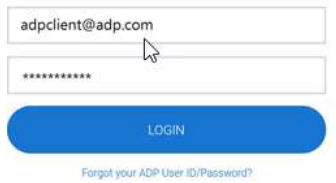
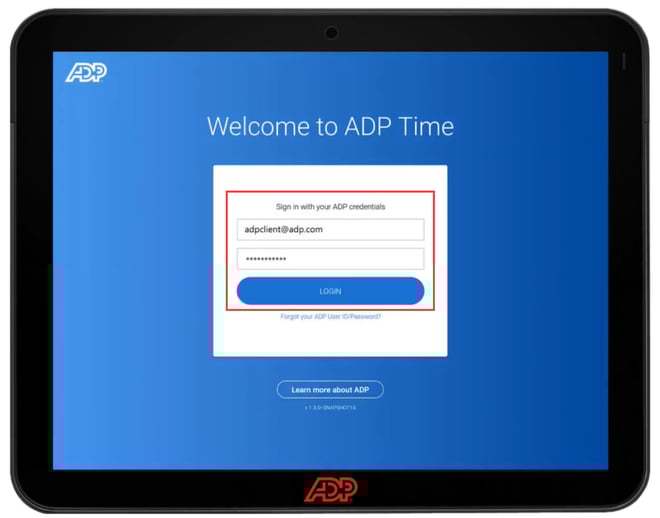
3. After a short period, you will see a Welcome to ADP Time screen. Log in with the admin credentials you use for ADP RUN.
![A picture containing text, monitor, electronics, screenshot
Description automatically generated](https://sbshrs.adpinfo.com/hs-fs/hubfs/undefined-Apr-21-2023-12-57-51-9335-AM.png?width=660&height=518&name=undefined-Apr-21-2023-12-57-51-9335-AM.png)
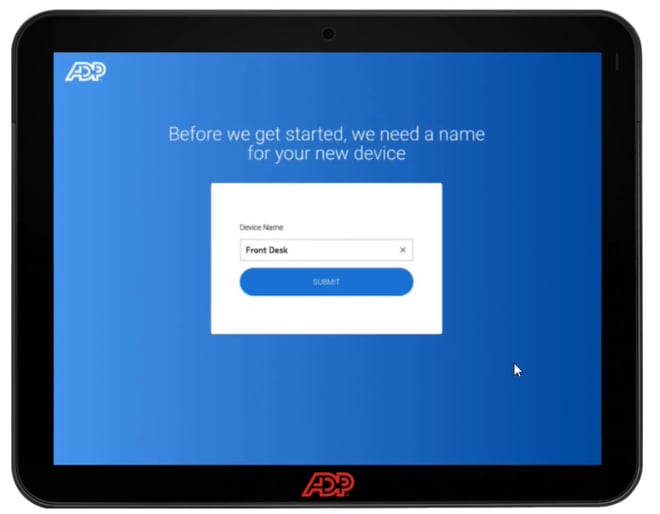
4. Name the device. We recommend something related to the location of the device. Then tap Submit.
![A picture containing text, electronics, screenshot
Description automatically generated](https://sbshrs.adpinfo.com/hs-fs/hubfs/undefined-Apr-21-2023-12-57-59-6949-AM.png?width=660&height=514&name=undefined-Apr-21-2023-12-57-59-6949-AM.png)
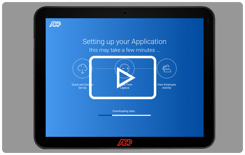
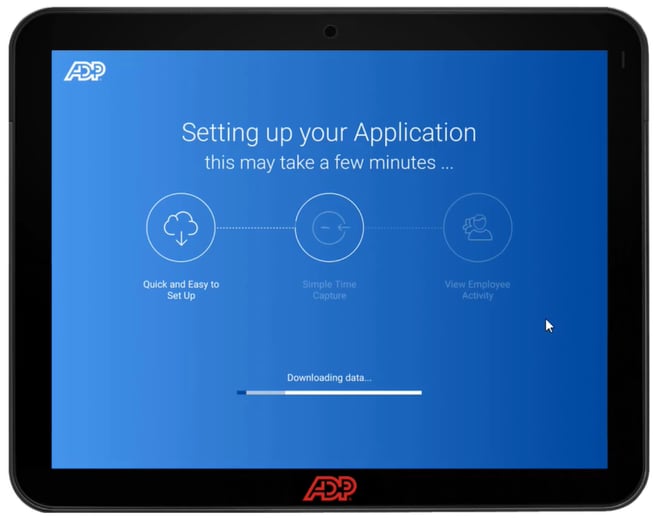
5. You will see another brief setup screen.
![](https://sbshrs.adpinfo.com/hs-fs/hubfs/undefined-Apr-21-2023-12-58-06-2218-AM.png?width=660&height=519&name=undefined-Apr-21-2023-12-58-06-2218-AM.png)
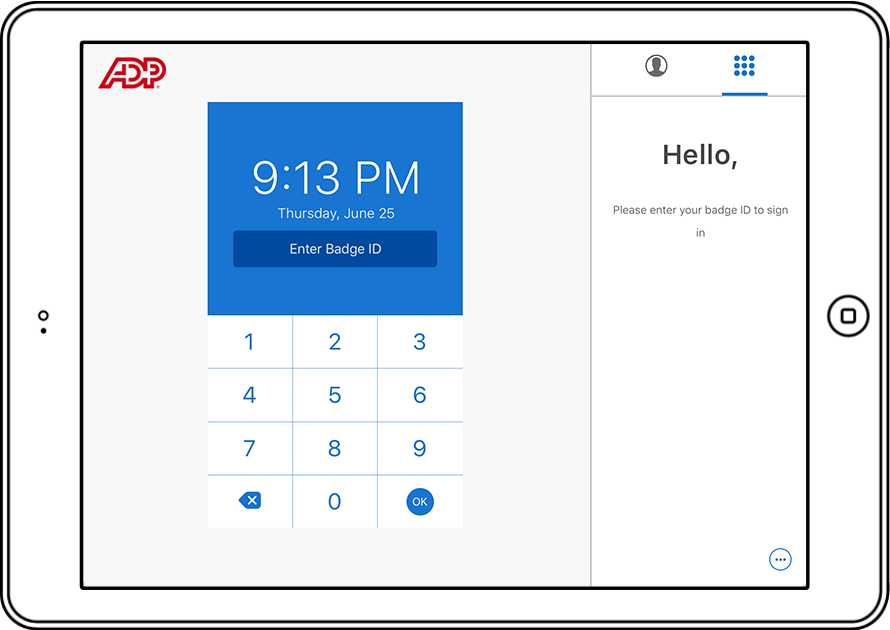
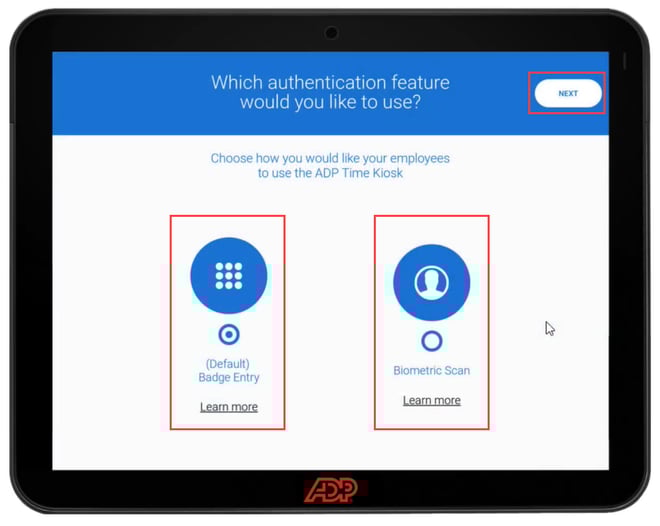
6. You’ll then be asked if you want your employees to use a PIN to log in, or use their faces for Biometric Scan. Tap Next once you make a selection.
![Graphical user interface, application
Description automatically generated](https://sbshrs.adpinfo.com/hs-fs/hubfs/undefined-Apr-21-2023-12-58-13-8429-AM.png?width=660&height=527&name=undefined-Apr-21-2023-12-58-13-8429-AM.png)
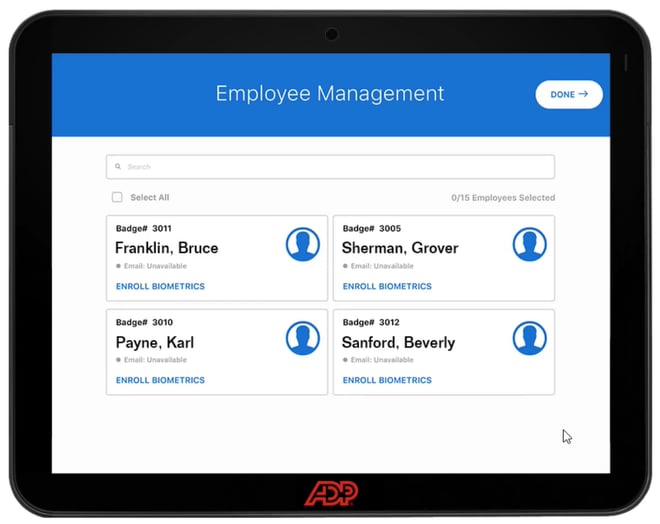
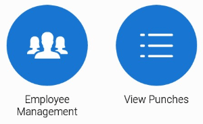
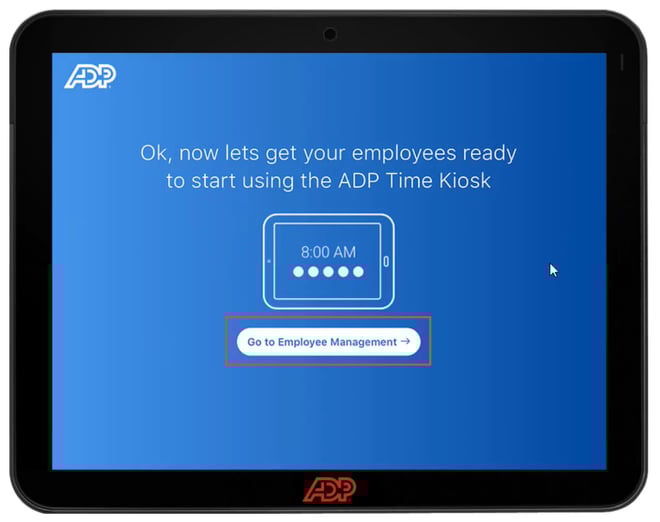
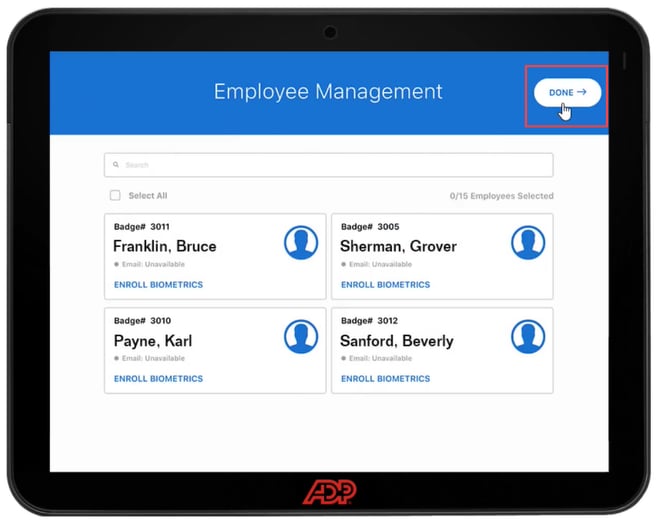
7. You’ll be prompted to go to the Employee Management screen.
![A picture containing text, monitor, electronics, display
Description automatically generated](https://sbshrs.adpinfo.com/hs-fs/hubfs/undefined-Apr-21-2023-12-58-22-1230-AM.png?width=660&height=523&name=undefined-Apr-21-2023-12-58-22-1230-AM.png)
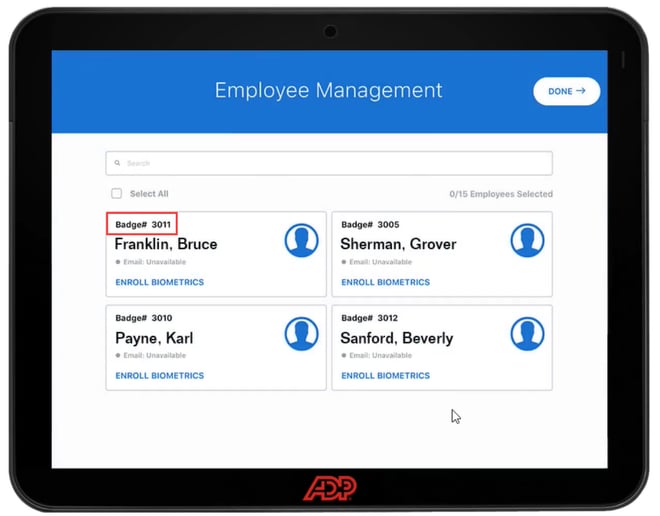
8. Here you can see your employees and their enrollment status. If you are using PIN, you can view and give your employees their Badge number. This can be changed in RUN under the employee’s profile.
![Graphical user interface, application
Description automatically generated](https://sbshrs.adpinfo.com/hs-fs/hubfs/undefined-Apr-21-2023-12-58-29-2324-AM.png?width=660&height=517&name=undefined-Apr-21-2023-12-58-29-2324-AM.png)
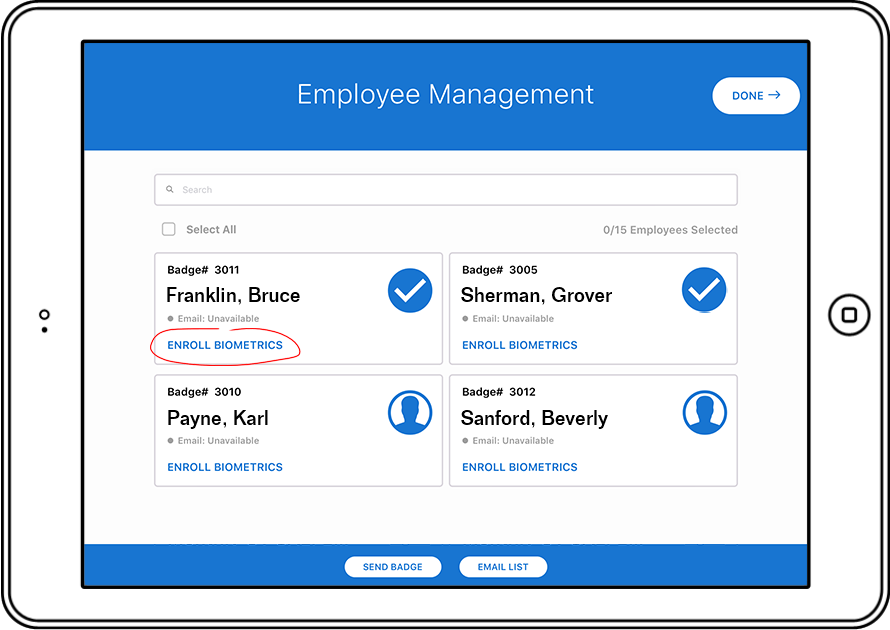
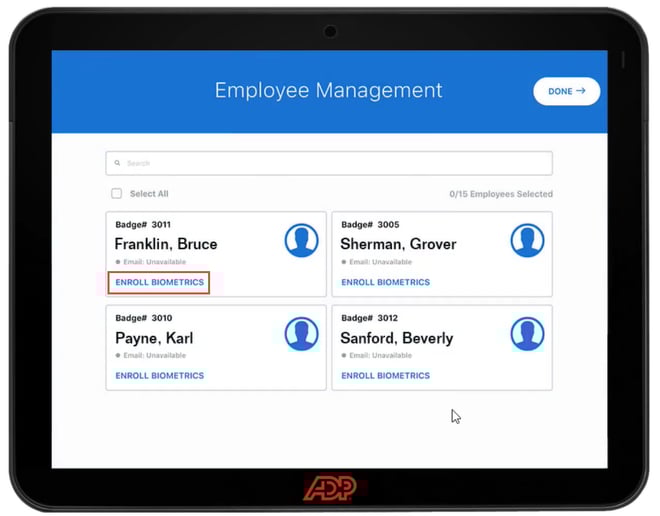
9. You can enroll employees right away by tapping ENROLL BIOMETRICS.
![Graphical user interface, application
Description automatically generated](https://sbshrs.adpinfo.com/hs-fs/hubfs/undefined-Apr-21-2023-12-58-38-1665-AM.png?width=660&height=517&name=undefined-Apr-21-2023-12-58-38-1665-AM.png)
10. You will then tap on Enroll Face on the Biometric Data Option screen.
![Graphical user interface, application
Description automatically generated](https://sbshrs.adpinfo.com/hs-fs/hubfs/undefined-Apr-21-2023-12-58-45-7617-AM.png?width=660&height=518&name=undefined-Apr-21-2023-12-58-45-7617-AM.png)
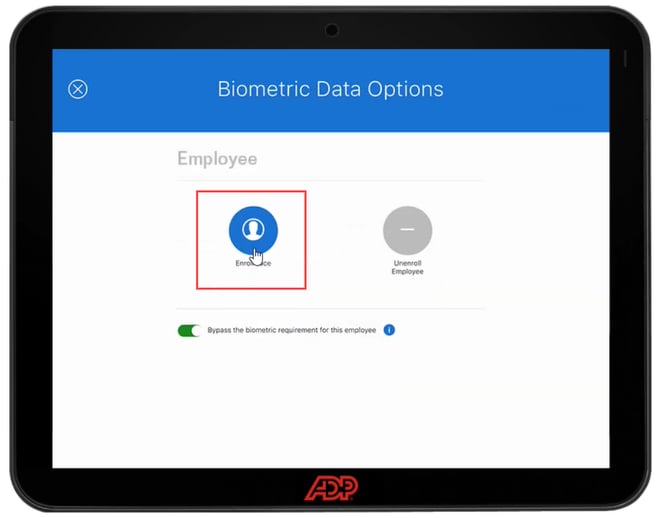
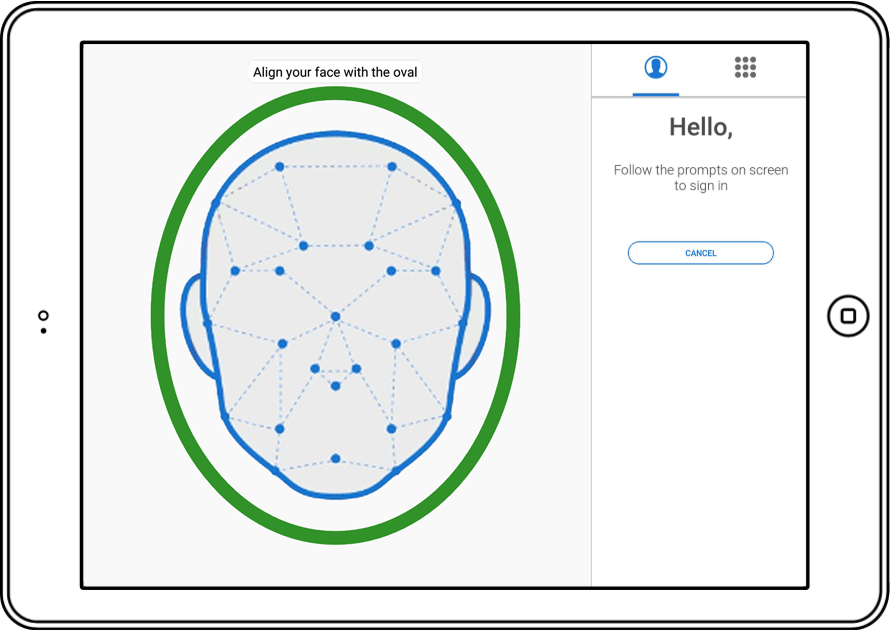
11. It’s important the employee taps the acknowledgement on the Biometric Consent screen for legal and compliance purposes. They will then be asked to put their face between a green circle and maybe move around to capture a good scan.
![Graphical user interface, text, application
Description automatically generated](https://sbshrs.adpinfo.com/hs-fs/hubfs/undefined-Apr-21-2023-12-58-54-0197-AM.png?width=660&height=524&name=undefined-Apr-21-2023-12-58-54-0197-AM.png)
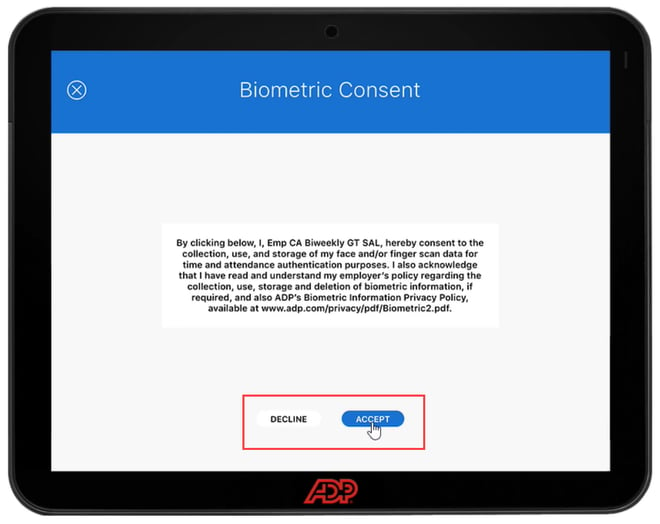
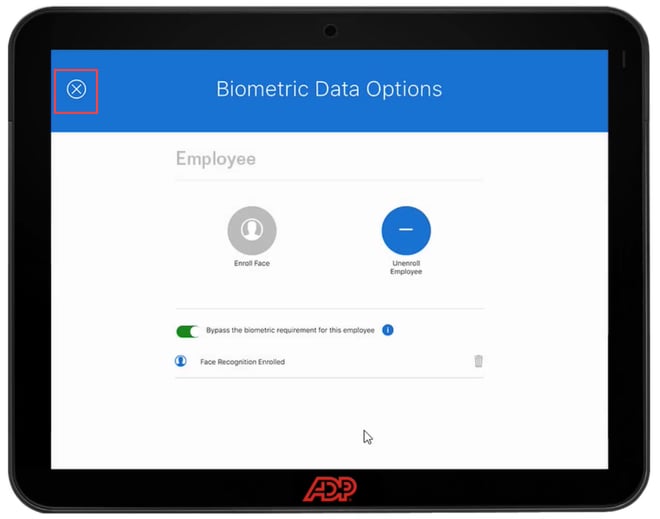
12. Once everyone is enrolled, or if you are not ready to enroll employees, tap the X, then select Done.
![](https://sbshrs.adpinfo.com/hs-fs/hubfs/undefined-Apr-21-2023-12-59-03-5969-AM.png?width=660&height=519&name=undefined-Apr-21-2023-12-59-03-5969-AM.png)
![Graphical user interface, application
Description automatically generated](https://sbshrs.adpinfo.com/hs-fs/hubfs/undefined-Apr-21-2023-12-59-08-0058-AM.png?width=660&height=522&name=undefined-Apr-21-2023-12-59-08-0058-AM.png)
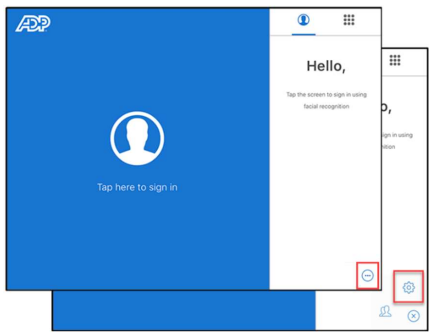
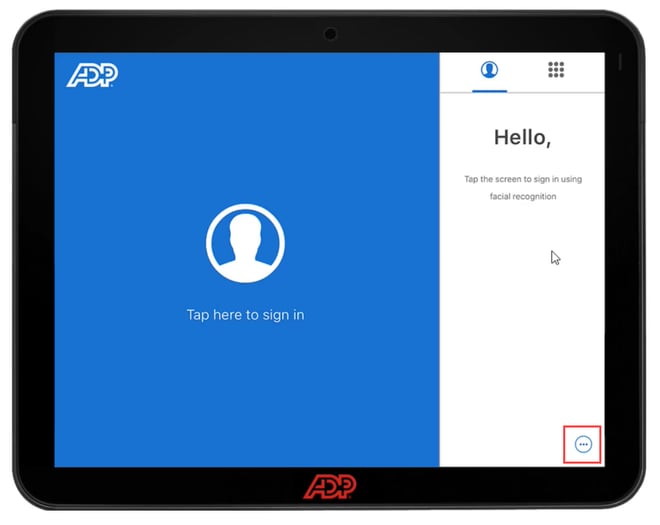
13. To get back to the Employee Enrollment screen, top the dots in the bottom right corner, then selecting the Supervisor icon.
![A screenshot of a phone
Description automatically generated with low confidence](https://sbshrs.adpinfo.com/hs-fs/hubfs/undefined-Apr-21-2023-12-59-15-8169-AM.png?width=660&height=525&name=undefined-Apr-21-2023-12-59-15-8169-AM.png)
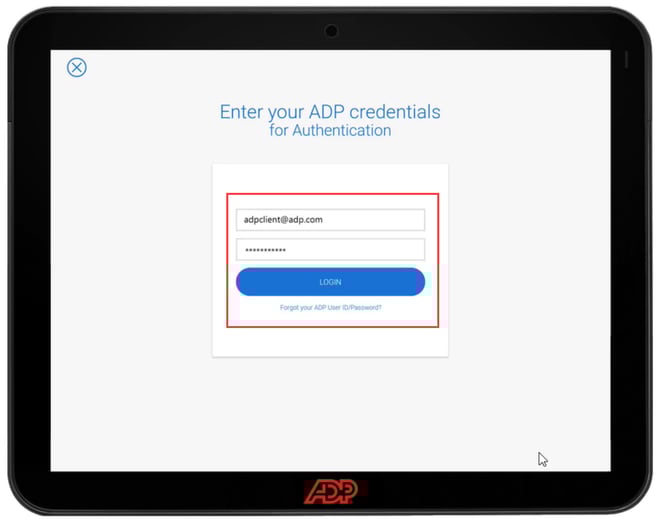
14. Log in again with your admin credentials.
![Graphical user interface, application
Description automatically generated](https://sbshrs.adpinfo.com/hs-fs/hubfs/undefined-Apr-21-2023-12-59-23-5559-AM.png?width=660&height=523&name=undefined-Apr-21-2023-12-59-23-5559-AM.png)
15. Then top on Employee Management.
![Graphical user interface, text, application
Description automatically generated](https://sbshrs.adpinfo.com/hs-fs/hubfs/undefined-Apr-21-2023-12-59-30-5173-AM.png?width=660&height=520&name=undefined-Apr-21-2023-12-59-30-5173-AM.png)
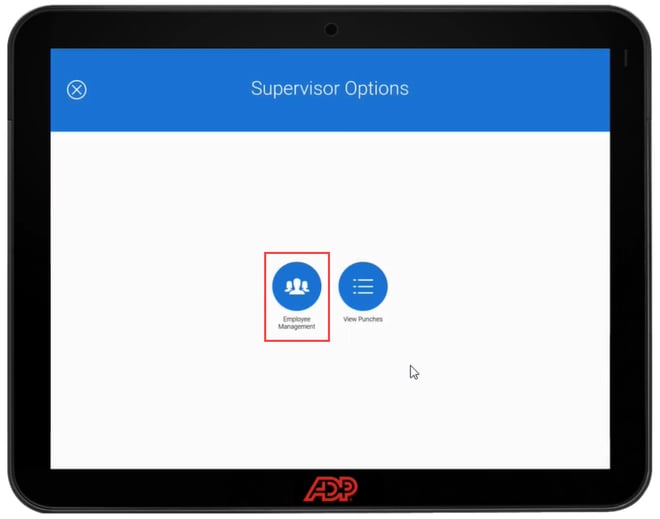
16. From here you can see employee badges, enroll employees, and unenroll employees once the device is setup.
![Graphical user interface, application
Description automatically generated](https://sbshrs.adpinfo.com/hs-fs/hubfs/undefined-Apr-21-2023-12-59-40-7511-AM.png?width=660&height=524&name=undefined-Apr-21-2023-12-59-40-7511-AM.png)