Time & Attendance Support Center
Schedules
Adding a single shift
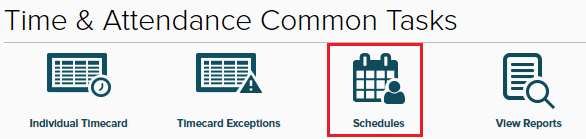
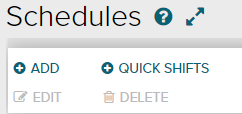
1. From the Home page under Time & Attendance Common Tasks, click the Schedules icon.
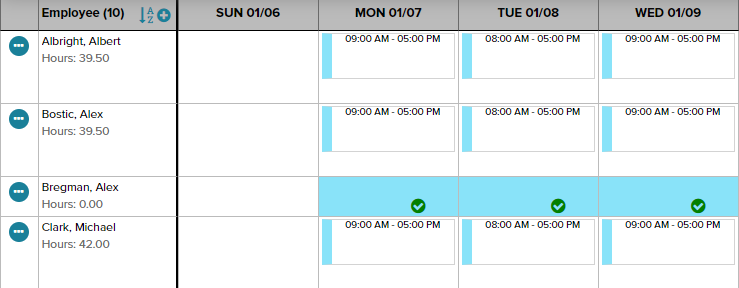
2. Find the employee you wish to add the shift to on the left and the date at the top and hover over the grid space until the options appear
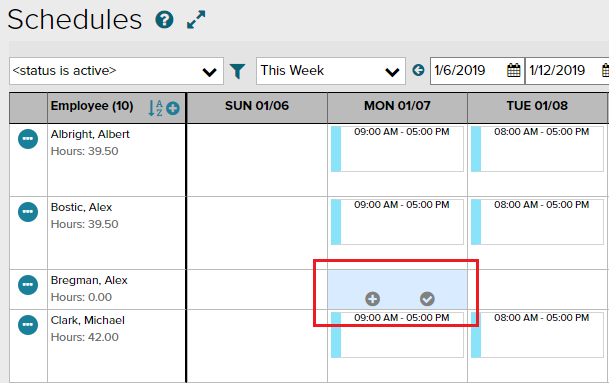
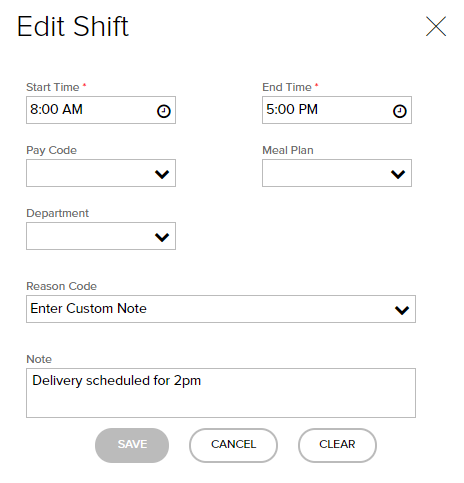
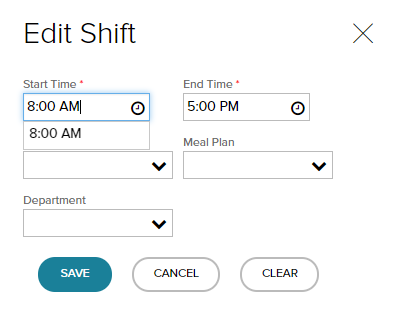
3. To add a single shift click the and the add shift menu will appear, enter the start and end time, department and any note for the employee to see.
Note: Pay Code and Meal Plan are overrides and will change the employee's normal overtime and meal break calculations. Don't use these options unless you meet your states Department of Labor requirements
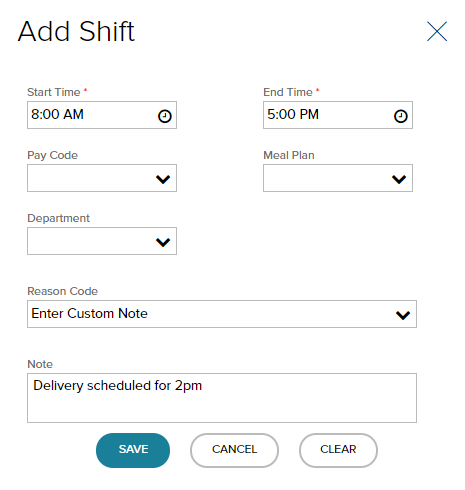
4. Click Save and the shift will be applied to the schedule grid
Editing a single shift
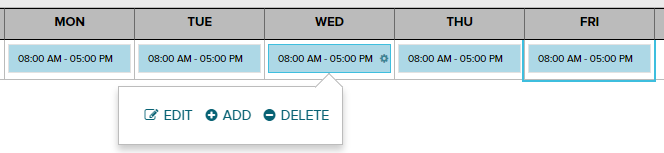
1. To edit the shift hover over the shift and click the edit icon
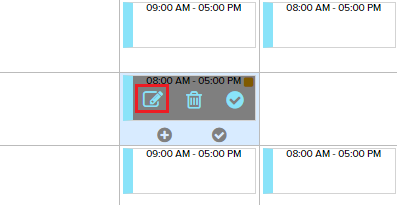
2. This will bring up the edit menu where you can make any adjustments
3. Click Save and the shift will be updated
Deleting a single shift
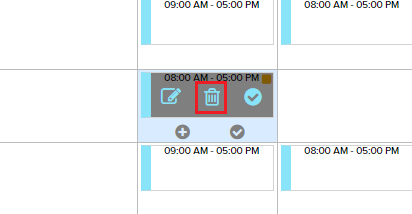
1. To delete the shift hover over the shift and click the delete icon
2. The Delete Shift box will pop up
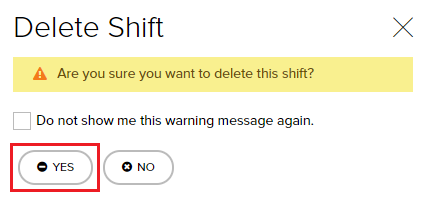
3. Click Yes and the shift will be deleted from the schedule grid
Adding multiple shifts
1. From the Home page under Time & Attendance Common Tasks, click the Schedules icon.
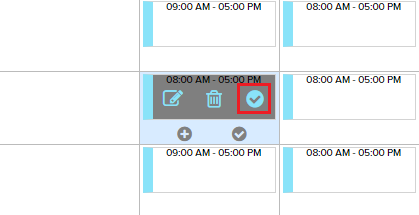
2. Find the employee you wish to add the shift on the left and the date at the top and hover over the grid space until the options appear
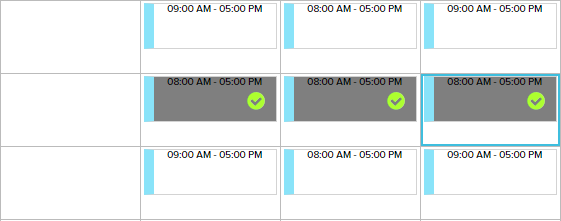
3. Select the and it will turn green. Select as many open shifts as you want by clicking the additional until you've selected all the days you want
Note: This is not limited to a single employee, you can add shifts to multiple employees at the same time
4. At the top, click the Add button
5. The add shift menu will appear, enter the start and end time, department and any note for the employee to see.
Note: Pay Code and Meal Plan are overrides and will change the employees normal overtime and meal break calculations. Don't use these options unless you meet your states Department of Labor requirements
6. Click Save and the shift will be applied to the grid
Editing multiple shifts
1. Hover over an existing shift and select the
2. Select as many existing shifts as you want by clicking the additional until you've selected all the days you want
Note: This is not limited to a single employee, you can edit shifts to multiple employees at the same time
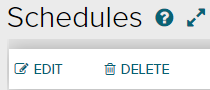
3. Click Edit in the top left
4. the Edit Multiple Shifts box will pop up, toggle the boxes on in order to make the edit then make the change

5. Click Save and all shifts will be updated on the schedule grid
Deleting multiple shifts
1. Hover over an existing shift and select the
2. Select as many existing shifts as you want by clicking the additional until you've selected all the days you want to delete
Note: This is not limited to a single employee, you can select shifts to multiple employees at the same time
3. Click Delete in the top left
4. The Delete Shift box will pop up
5. Click Yes and the shifts will be deleted from the schedule grid
1. From the Home page under Time & Attendance Common Tasks, click the Schedules icon.
2. On the top bar click Template

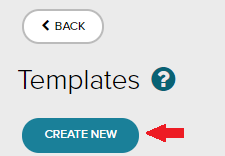
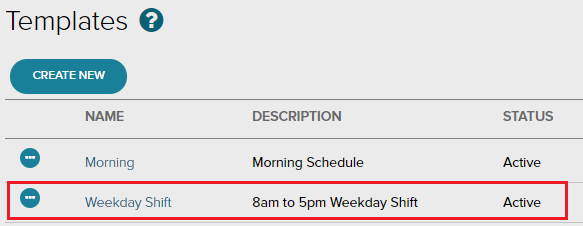
3. Under Templates, click Create New
4. Give the template a name and description. Status should be left active.
Note: Access should be public, unless you want to be the only one to view, edit and assign this shift.

5. Add a starting date, this is when the template will be available to be added

6. Select the days you want to add shifts for by clicking them, they will highlight

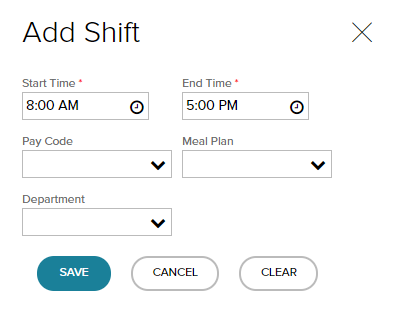
7. Click the on any day you have selected to bring up the Add Shift menu, enter the start time and end time and click Save
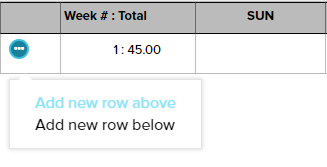
8. If your template is on a biweekly or monthly rotation, you can add weeks on the left by select the triple dot menu
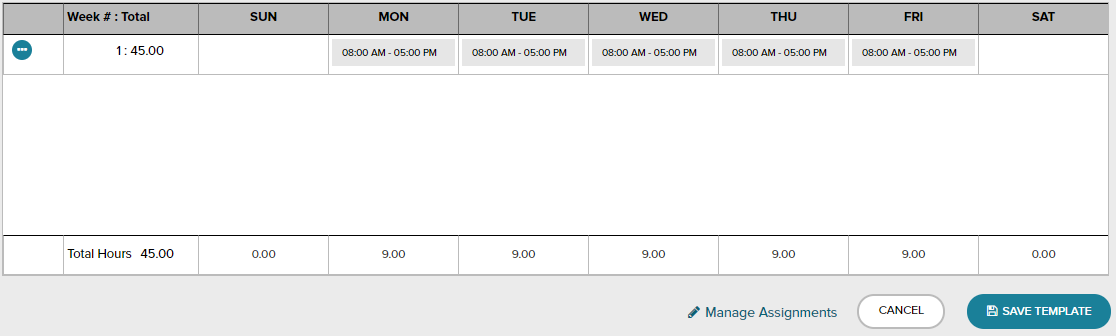
9. Once you have added all the shifts, click Save Template in the bottom right
10. You will be taken back to the Templates menu, and your template will appear below
You have successfully created a recurring shift template
1. From the Home page under Time & Attendance Common Tasks, click the Schedules icon.
2. On the top bar click Template
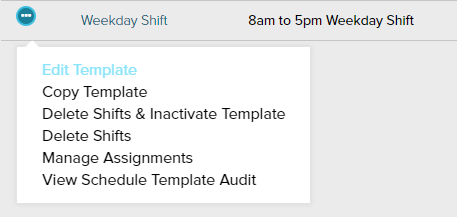
3. Under Templates, click the menu button next to the shift you wish to edit and Edit Template
4. If you wish to change the name, description or the edit date (when the change will occur) make the changes here

5. To change a single day, hover over a day, click the cog, then click edit
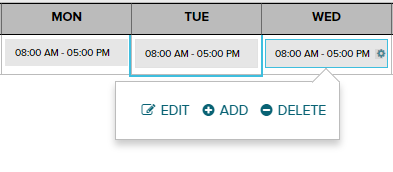
6. Edit the shift then click Save
7. To change multiple days at once, select the days until they're all highlighted, then click a cog on any day and select edit
8. Once you've made all your edits, click Save Template and you'll be presented the effective date question. Enter the date and click done
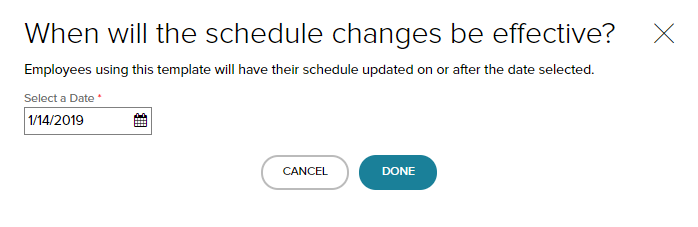
The template is now updated and will be reflected on the schedule grid
1. From the Home page under Time & Attendance Common Tasks, click the Schedules icon.
2. On the top bar click Template
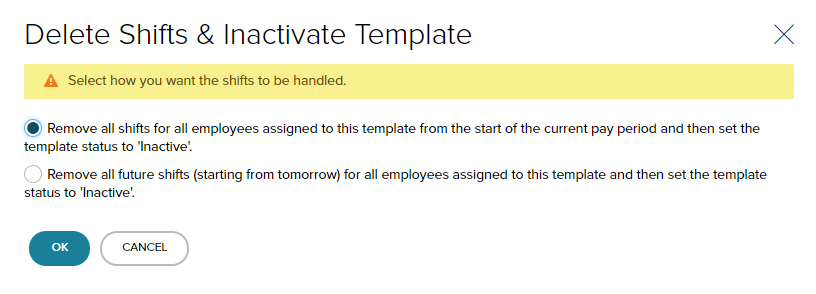
3. Under Templates, click the menu button next to the shift you wish to delete and select Delete Shifts & Inactivate Template

4. Choose whether you want to remove all templates starting with the current period or keep all assignments until tomorrow
5. If the shift is deleted it will be removed from view and a confirmation message will appear above

1. From the Home page under Time & Attendance Common Tasks, click the Schedules icon.
2. On the top bar click Template
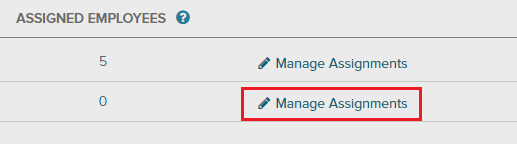
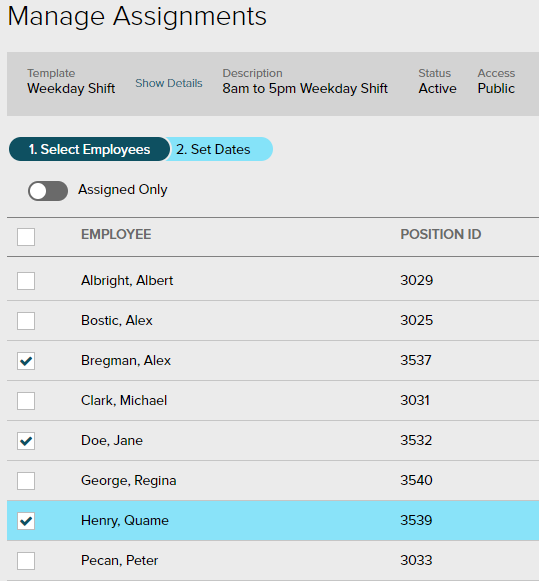
3. On the template you wish to assign, click Manage Assignments
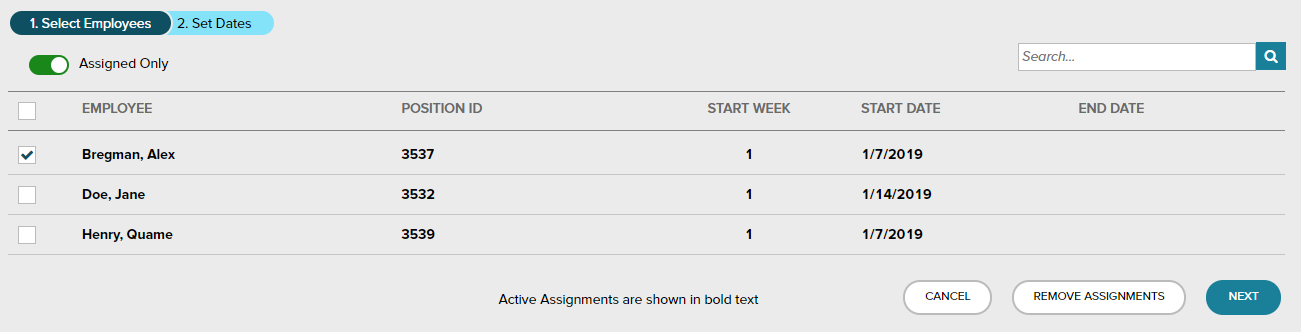
4. On the Manage Assignments page select the employees you wish to assign with a checkbox on the left and Click Next
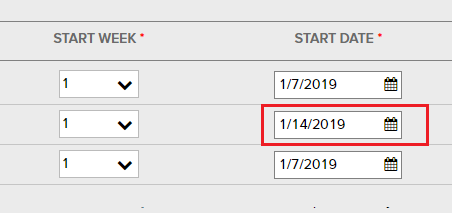
5. If you selected multiple employees, you can set the date range for all the employees at once with the selection in the top right and click apply to all
Note: An End Date is not required and will make the schedule recur indefinitely

6. If you only have one employee, or wish to make a single employee change you can edit within the page as well
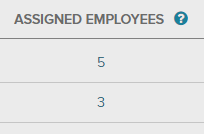
7. Click Submit and you will be brought back to the Templates page, your Assigned employees will update
Your employees schedule will now be updated, you've successfully added a recurring schedule to your employees
Editing a Template Assignment
1. From the Home page under Time & Attendance Common Tasks, click the Schedules icon.
2. On the top bar click Template
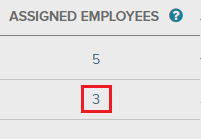
3. On the template you wish to edit, click the Assigned Employees number
4. On the Manage Assignments page select the employees you wish to edit with a checkbox on the left and Click Next
5. Make the change to the Start Date, End Date or Start Week then click submit
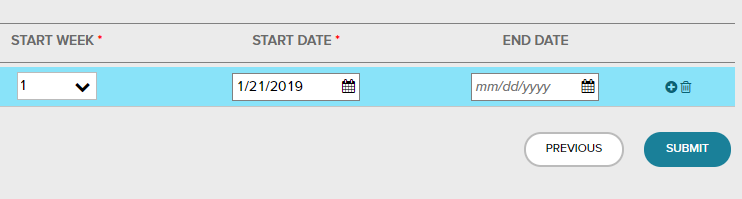
6. Click Submit and you should get a confirmation message

Removing a Schedule Assignment
1. From the Home page under Time & Attendance Common Tasks, click the Schedules icon.
2. On the top bar click Template
3. On the template you wish to edit, click the Assigned Employees number
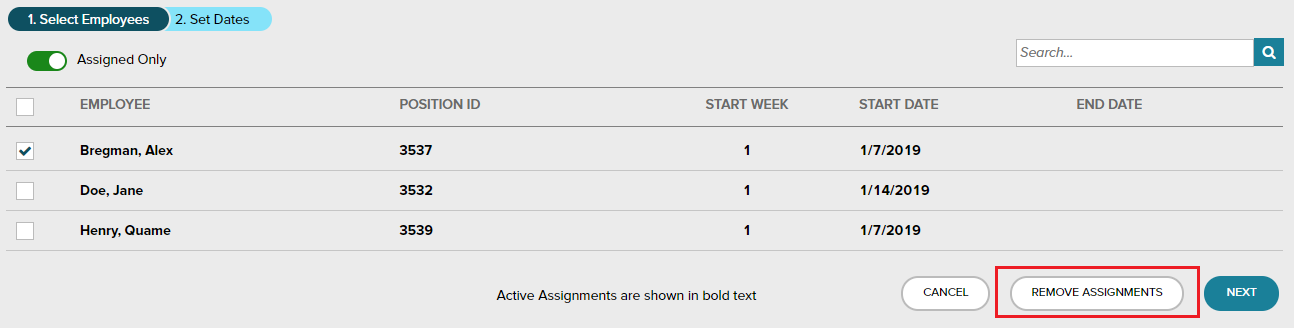
4. On the Manage Assignments page select the employees you wish to edit with a checkbox on the left and Click Remove Assignment
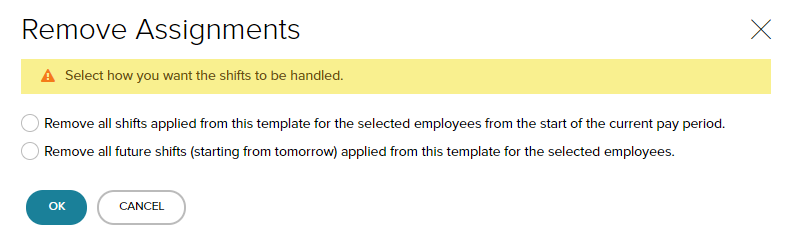
5. Select for removing the shift template from the beginning of the current period, or starting tomorrow and click OK
6. You should get a confirmation box at the top
