Deputy for ADP RUN

Deputy

Deputy is available for purchase using the ADP Marketplace. Deputy brings world class scheduling, communication and employee tracking to your business, and integrates seamlessly with RUN powered by ADP. Get started in minutes, check out how easy it is to set up and start organizing your businesses time tracking needs:
download

Purchase Deputy

Using the ADP Marketplace, you can purchase Deputy and have it charge directly to your RUN payroll or credit card

walkthrough

Quick Setup

Setup takes 10 minutes or less. Deputy will be integrated with your RUN payroll and have your employees clocking in and out in no time

enroll

Get Started

You can start setting up your schedules, communicating with your employees and have them clock in and out right away

Let's get started:

1. Log in to https://marketplace.adp.com/

2. Click Login in the top right

3. Enter your ADP credentials that you use to log in to RUN on this page and click Sign In

4. In the search bar, type Deputy and click Search

5. Find Deputy for RUN powered by ADP and click View Profile.

6. On the Deputy profile page click Buy Now.

7. On the Create Order page select your purchase type and click Continue.

purchase

8. On the Billing Details page, enter your credit card information, or select to use the RUN Invoice and click continue

9. On the Confirm Order page, check the box to acknowledge the terms and click Place Order.

9. On the Order Reciept, click Go To MyApps.

10. You can now access Deputy by clicking the Deputy Icon on the Applications page.

11. You've purchased Deputy, check out the setup guide below to finish the setup


1. Go to https://apps.adp.com/myapps and click on the Deputy icon

2. A Consent Request will show on the page, click allow

3. Then click continue on the confirmation slide in:

4. A second Consent Request will show up, click allow

5. Change Location Name, Address or Week Start if needed, then click Next.

6. Enter any Areas of Work and click Next.

7. Click Import from Payroll Package and choose ADP from the drop down menu.

u22

8. Employees will import from RUN to Deputy. Remove employees by clicking the trash can on the right. Any employees with an email will be invited to register for Deputy by default. When ready click Start Using Deputy.

13. You're all set up with Deputy. If you need help logging back in or learning more about deputy, see below:

Logging in to Deputy

Website:  https://once.deputy.com
Username: Your email address
Reset Password:   https://once.deputy.com/my/login#forgot

Tip: If you never set up a password, you can use the forgot password link to create a new one too.

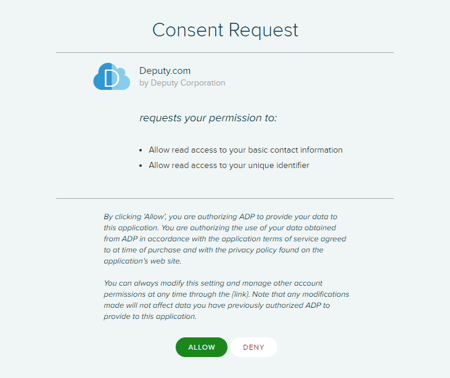
Log in to https://once.deputy.com

At the top of your screen in Deputy click Timesheets, then Export Time Sheets.

Use the location selector in the top left corner to choose a specific location to export, or all locations. Use the date selector to match the export dates in Deputy with your Pay Frequency Period start and end dates (find these in ADP Run under Company->Pay Frequency).

If the dates above do not match, you will not be able to export. If you are exporting for multiple Pay Frequencies in ADP Run, export only the employees associated with a given Frequency. Each unique Pay Frequency must be exported separately, and between exporting different Frequencies you will need to finalize the export in ADP as shown in Step 3.

Once the date and location have been selected, select employees to export by clicking them on the list to the left.

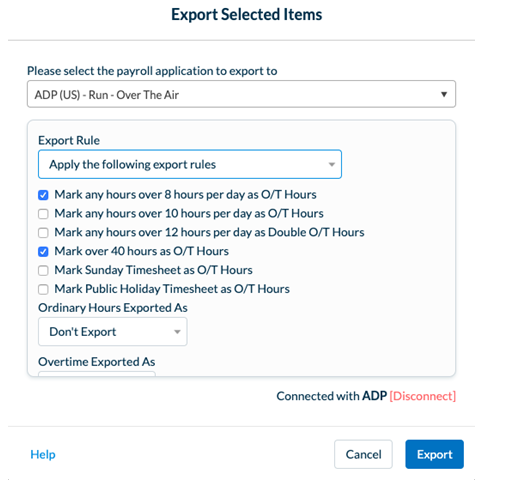
After selecting the employees, click the blue Export Selected Items button. In the window that appears, select ADP (US) - RUN - Over the Air.

Overtime hours are any hours that fall within your chosen overtime buckets. You can select the following overtime categories by ticking them in any combination:

-Any hours over 8/10/12 per day
-Any hours over 40 in a week
-Any hours worked on a Sunday
-Any hours worked on a public holiday

If you're using a customized award, select Utilise a Custom Award from Deputy Award Library as the export rule:

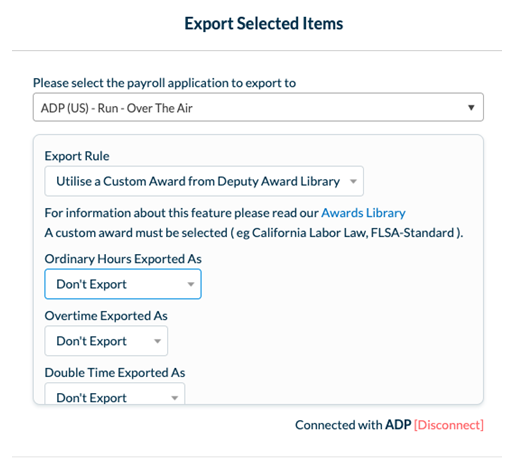
Once you have chosen the options you need, click Export.

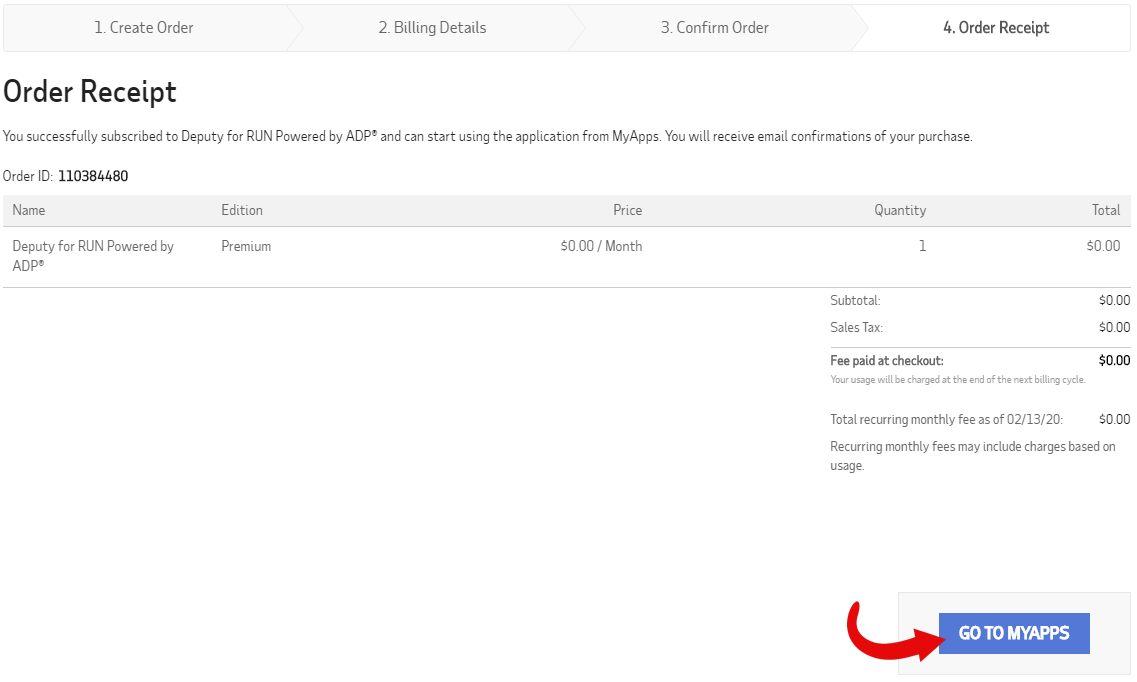
You will receive a notification that it has gone through successfully. Next, login to ADP RUN Payroll.

In RUN, go to your Home page and click Time Sheet Import.

On the following screen, select the pay frequency you exported for.

After selecting the Frequency, you will see the hours appear in the Pay Data Approval screen.

Verify the hours are correct. You will see them assigned to the departments assuming you set them as explained above. Leave hours from Deputy will always appear as Unassigned. After verifying the hours, click Combine Payroll and Import on the lower left.

Finally, click Approve on the lower right corner in ADP to be taken to the payroll Entry Screen to finalize your payroll.

Please note, after clicking Approve you will not be able to revert this import.

Customer Support Email: experience@deputy.com
 
Find the help button in the top right of any Deputy page, click the button to access these helpful features:
 
helpsupport


If you need assistance cancelling, please reach out to adpmarketplace@adp.com

1. Go to https://apps.adp.com/myapps and hover over the Deputy icon

2. A cog will appear, click on the cog to access the settings:

3. Click Manage app

4. Click cancel subscription on the management page: